Azaleas from Seed: A Guide to Crossbreeding and Raising Hybrid Seedlings
Why grow azaleas from seed?
Evergreen azaleas are usually propagated through cuttings. By rooting shoots of a known cultivar, one can obtain new plants that are true to type.
Because this is a form of asexual propagation, the genetics of the offspring is usually identical to the mother stock plant. In some cases, because of the sporting nature of the parent, the cuttings may differ from the parent.
When seeds are used to produce more azalea plants, the genetics of the seedlings are different from the parent.
This means that the seedlings will not come true to type.
Because most azalea cultivars are hybrids obtained from crossbreeding many different species, and because azaleas resist self-pollination, seedlings can be quite variable, especially with respect to their flowers.
This means that named cultivars are often exceptional seedlings that can be mass-produced through asexual propagation. While an azalea raised from seed can be quite mundane or even an ugly duck.
One can only approach the quality of named varieties by raising a sufficient number of seedlings.
The other side of the coin is that the only way to either improve exciting cultivars, or create new varieties that are just different, is by using sexual reproduction and growing from seed.

Figure 1. Diagram showing the genetic anatomy of a flower
Growing from seeds can be as casual or ambitions as you'd like it to be
Even though the average seedling will be, well average, it may still be worth it to grow some seeds from your absolute favourite azalea. Just for fun and to see what the results are.
A more advanced approach is to specifically select two parents, cross-breed them, and see how their genes mix. In that case, you will then hope for trait X from parent A and trait Y from parent B, which will likely result in some disappointments.
In a professional breeding program, one may have a very specific breeding goal that can be evaluated. Say it is a long bloom period. And in your breeding, you only use parents with superior bloom time.
And then, raising from seeds is just the first step. With the second step being having strict and clear selection criteria on those seedlings.
In such a program, true progress may only be made after several generations of strict selection.
Making your first controlled pollination cross
To make a cross we first need two azaleas that have just started to flower. One azalea will be the seed parent, the other azalea will provide the pollen.
The flower is most ready to receive pollen about 4 days after it opened, but pollen can be applied earlier.
The stigma of a flower can often be shiny with a sticky mucus, but this depends on the weather and on the specific variety.
Next, one collects stamens from the pollen parent. These can be pulled out one by one, including the filament, from the pollen parent azalea.
Some varieties produce copious pollen in every single anther. But for many varieties, pollen may be sparse.
The pollen will always be white in colour. So for varieties where the anthers are coloured, the presence of pollen will be quite conspicuous.
Azalea flowers with have anthers with two pollen sacs, which will appear as two white dots. If the anthers themselves are white, they are not visible.
To make more pollen come out one should tap or finger flick against the filament. Repeating this until the two white dots fuse into a mass of pollen.
Some pollen may fly out, but usually enough will remain to apply to the seed parent flower.
Once there is enough visible pollen, touch the pollen end of the anther onto the stigma of the seed parent flower.
Since the pollen is sticky, this should allow one to 'paint' the pollen onto the stigma.
If the receiving stigma is covered with a lot of mucus, this may act as a glue that prevents the pollen from coming out of the anther.
In that case, finger flick until a string of pollen hangs out of the anther, and apply this string of pollen to the stigma.
Once enough mucus mixes with pollen, the stigma will no longer apply mucus to the anther of the pollen parent and block the pollen from coming out of the pollen sac.
Sometimes, several stamen are needed to pollinate one flower. In rare cases, a variety produces so much pollen, one stamen can be used to pollinate more than one flower.
If the pollen is brittle, it will not form a string that hangs out, but scatter away when finger flicking.
In this case, applying the pollen to your finger, some other surface, or a pollination or make-up brush can be the solution.
When most flower seem to lack pollen, try to find the largest flowers on that variety of azalea.
Some varieties will almost never produce pollen.Such varieties may be best used as seed parents when one really wants to cross-breed them.
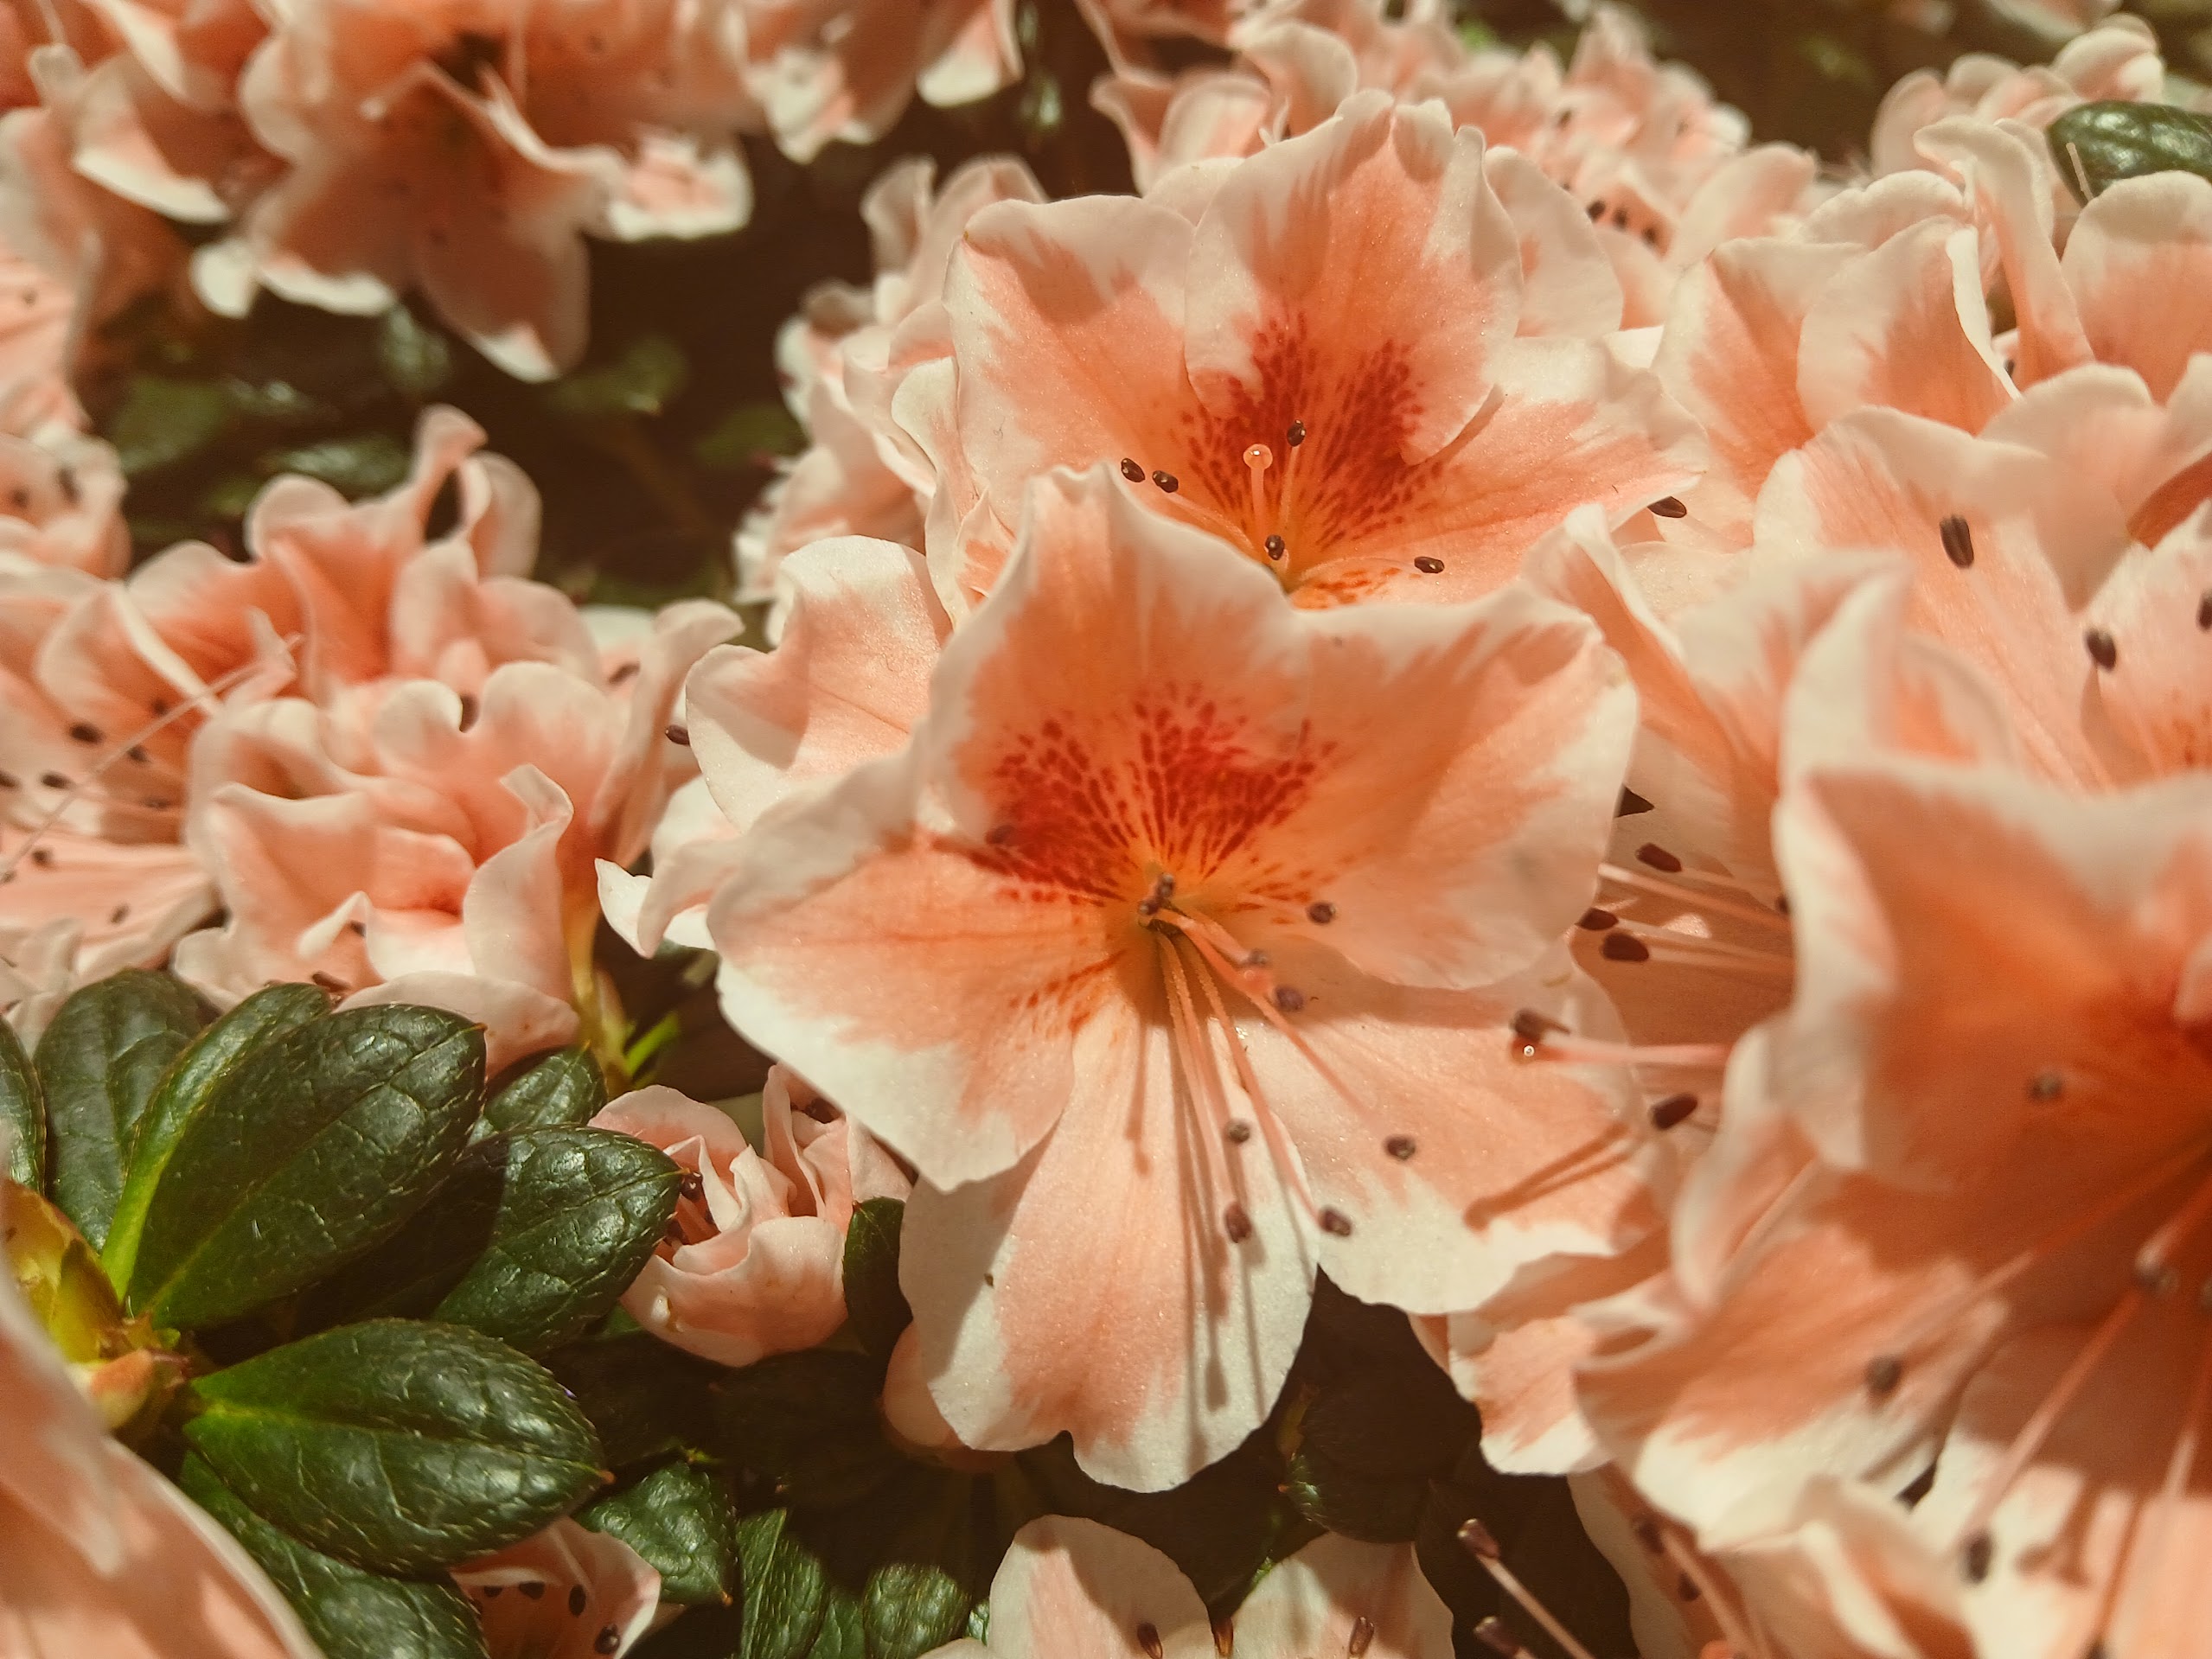
Figure 2. Flower of
‘Mevrouw Gerard Kint’ before the petals were removed.
Figure 3. Flower of
‘Mevrouw Gerard Kint’ that has been emasculated.
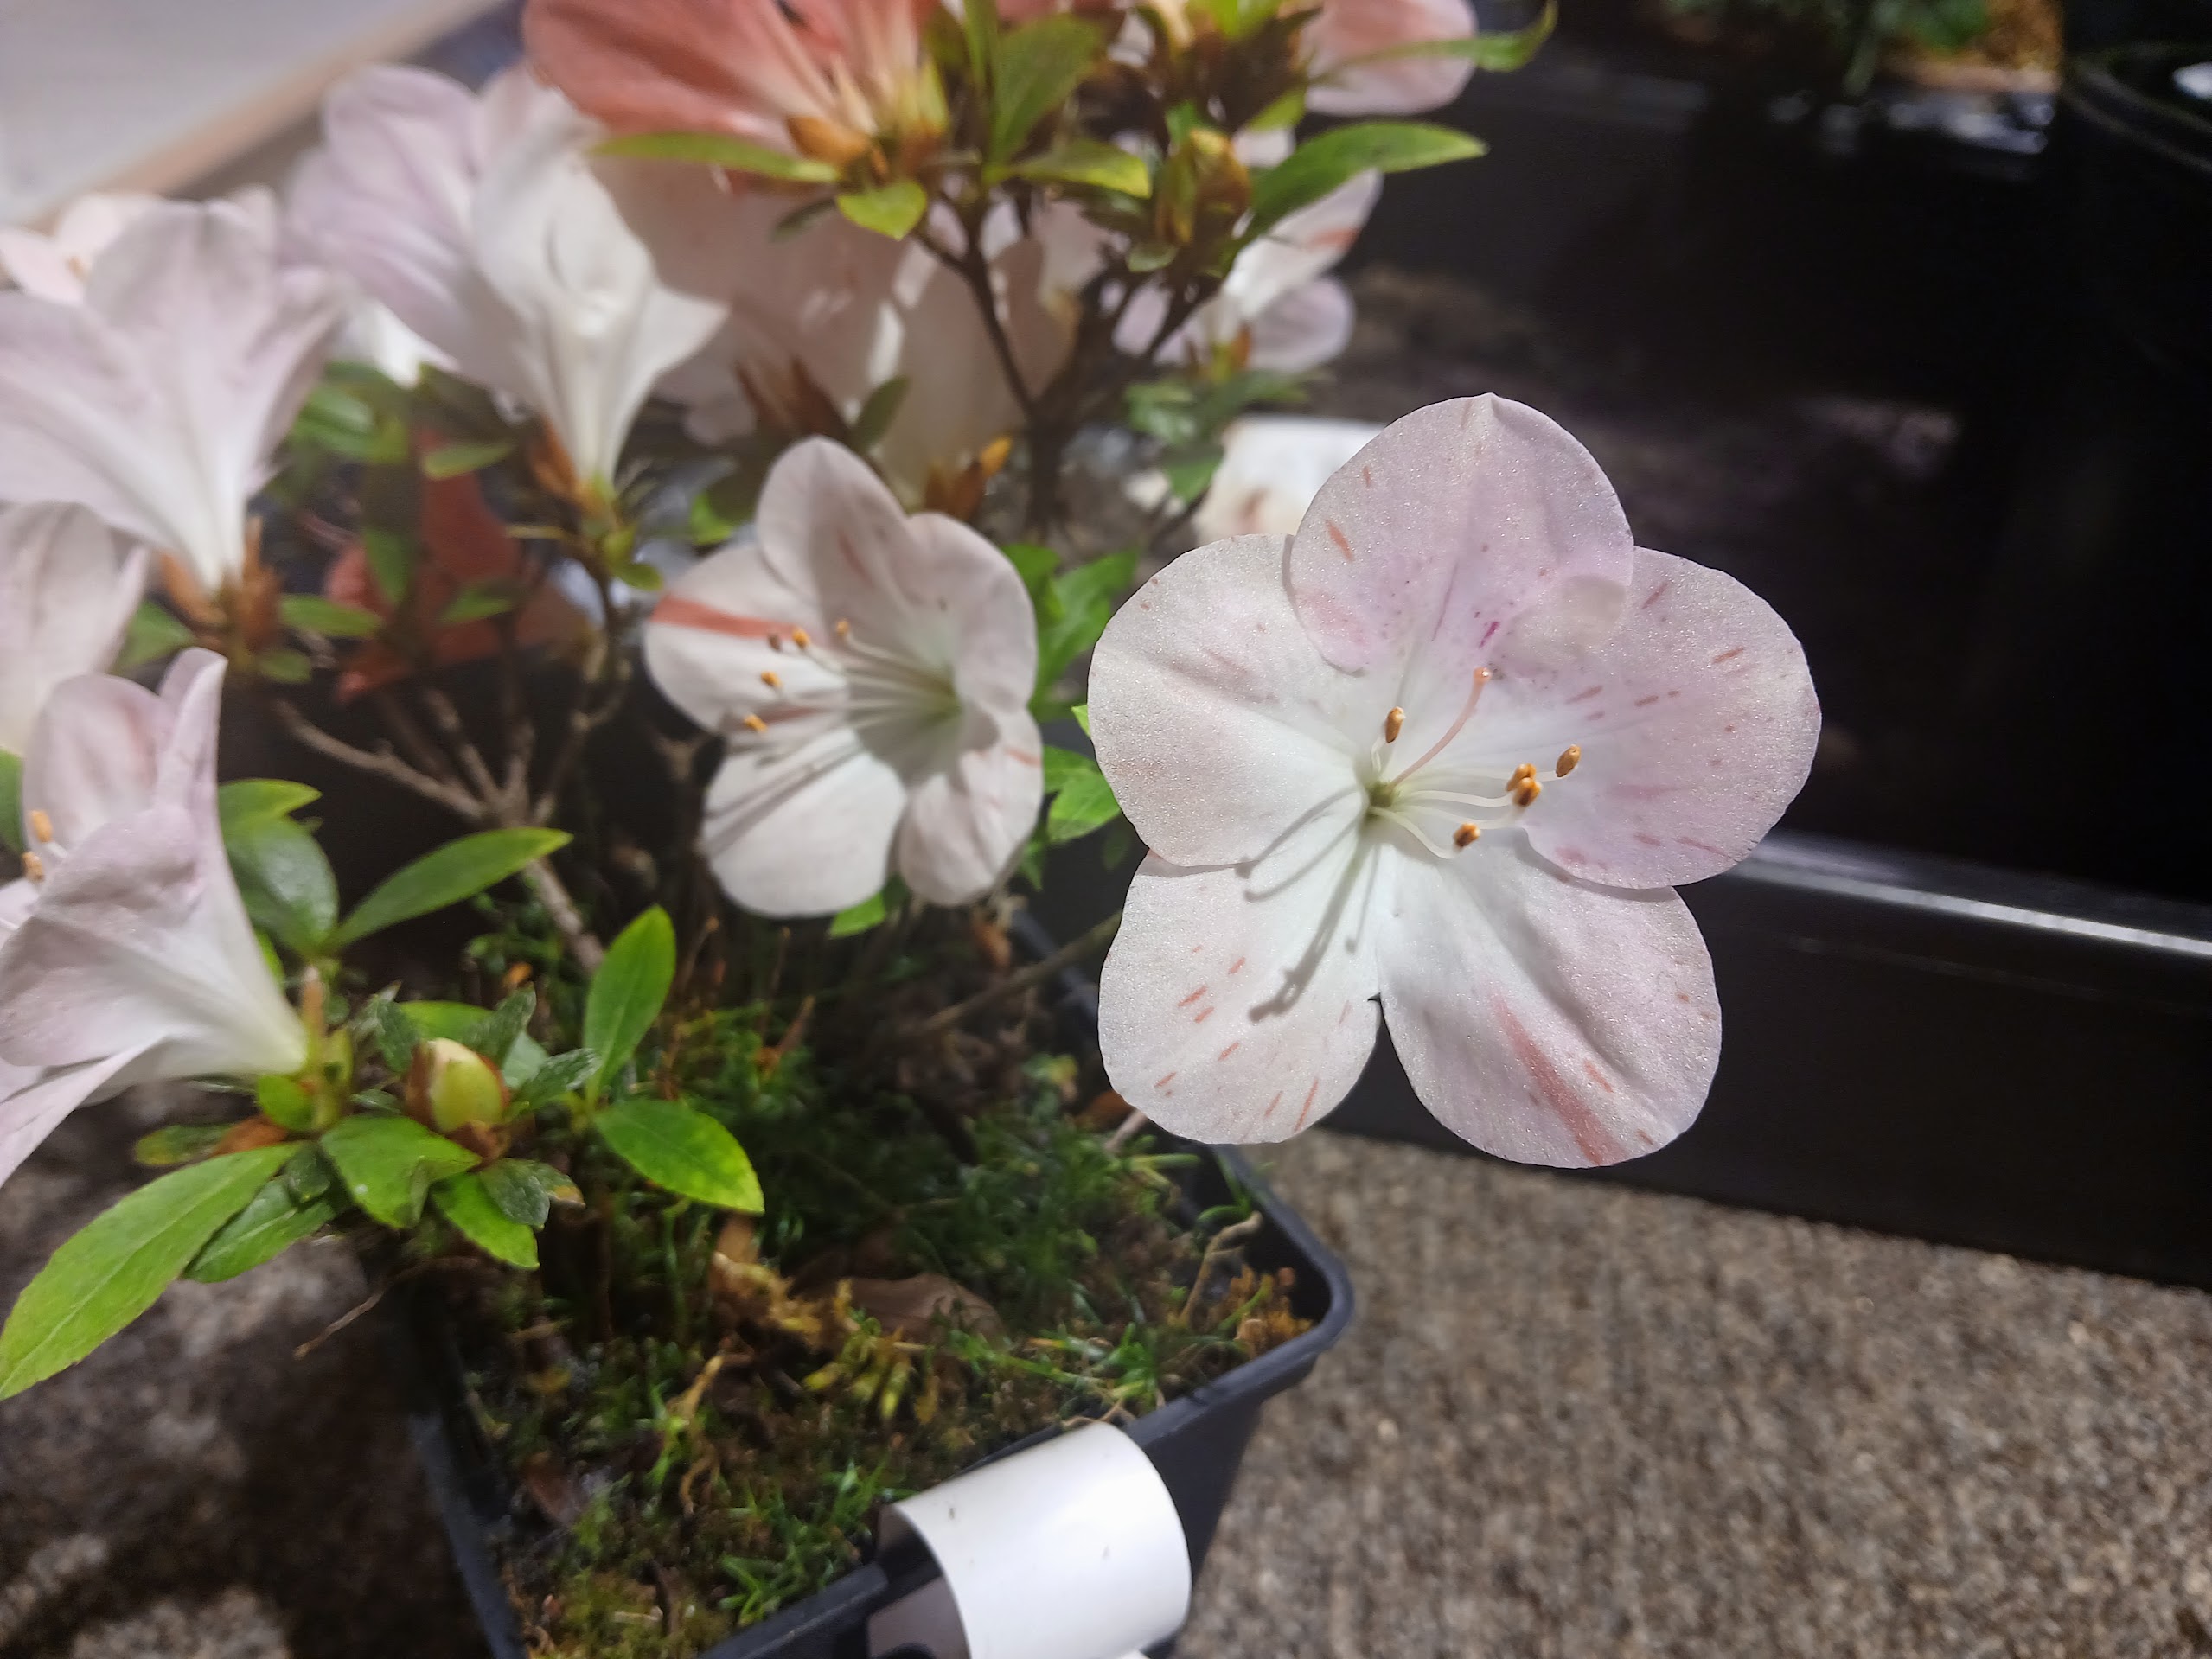
Figure 4. Flower of
‘Hekisui’, the pollen parent in this cross.
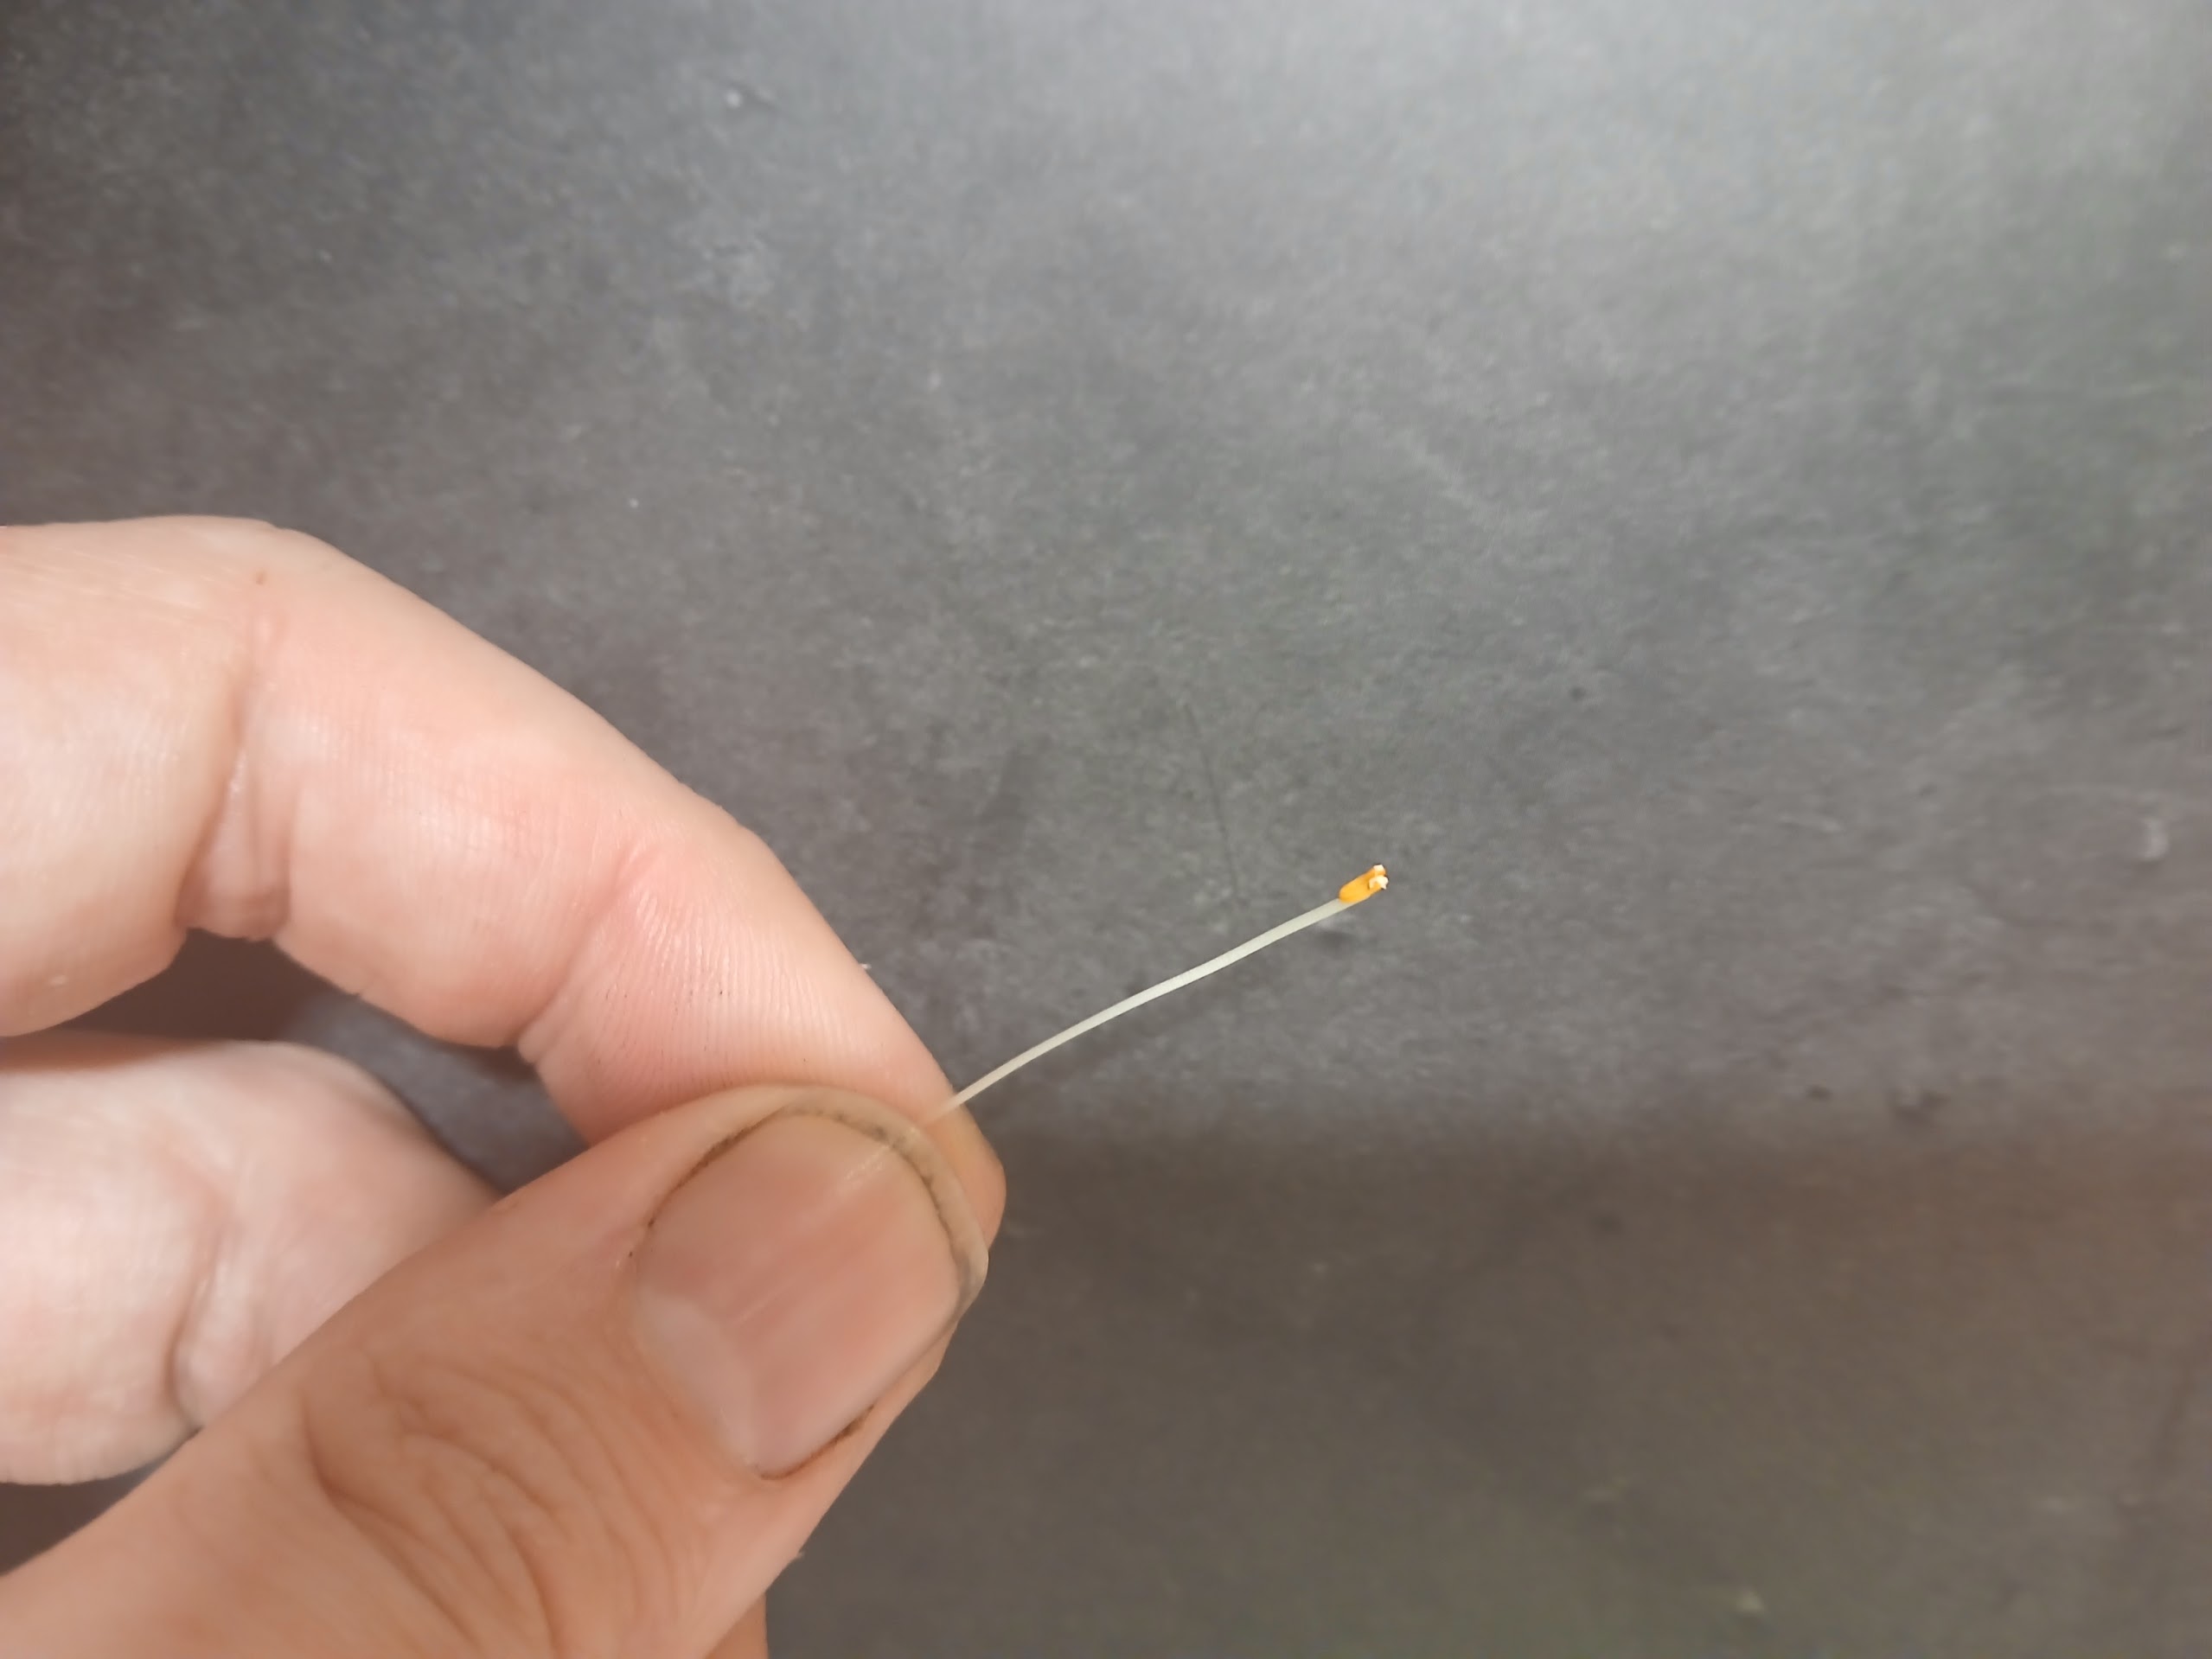
Figure 5. Stamen with anther showing two white pollen spots.
Preventing pollen contaminations
Strict measures to prevent pollen contaminations likely are not necessary when just playing around and raising some seeds.
But in the case of very specific breeding goals, it may be essential that the pollen parent is correct.
For example when the pollen parent provides a recessive mutation to the F1 seedling, that will be expressed in the F2 seedling phenotype, being 100% sure about the pollen parent can become very important.
The most effective approach is to make the cross indoors under a growing light, or inside a greenhouse where pollinators cannot enter.
The first step to contamination-free cross-pollination would be to find an unopened flower on the seed parent and then to carefully remove the flower petals.
Make sure to not damaging the stigma of the flower and to not release any pollen from the stamens. For example, pollen might stick to your fingers when pulling out the stamens.
The unopened and now emasculated flower likely is not fully mature and receptive. A netted bag can be placed around the branch to keep out pollinators.
The flower is most ready to receive pollen about 4 days after it opened, but pollen can be applied earlier.
The stigma of a flower can often be shiny with a sticky mucus. The way that pollen grains 'eat' down the style to fuse the male and female gametes is quite interesting, but beyond the scope of this article.
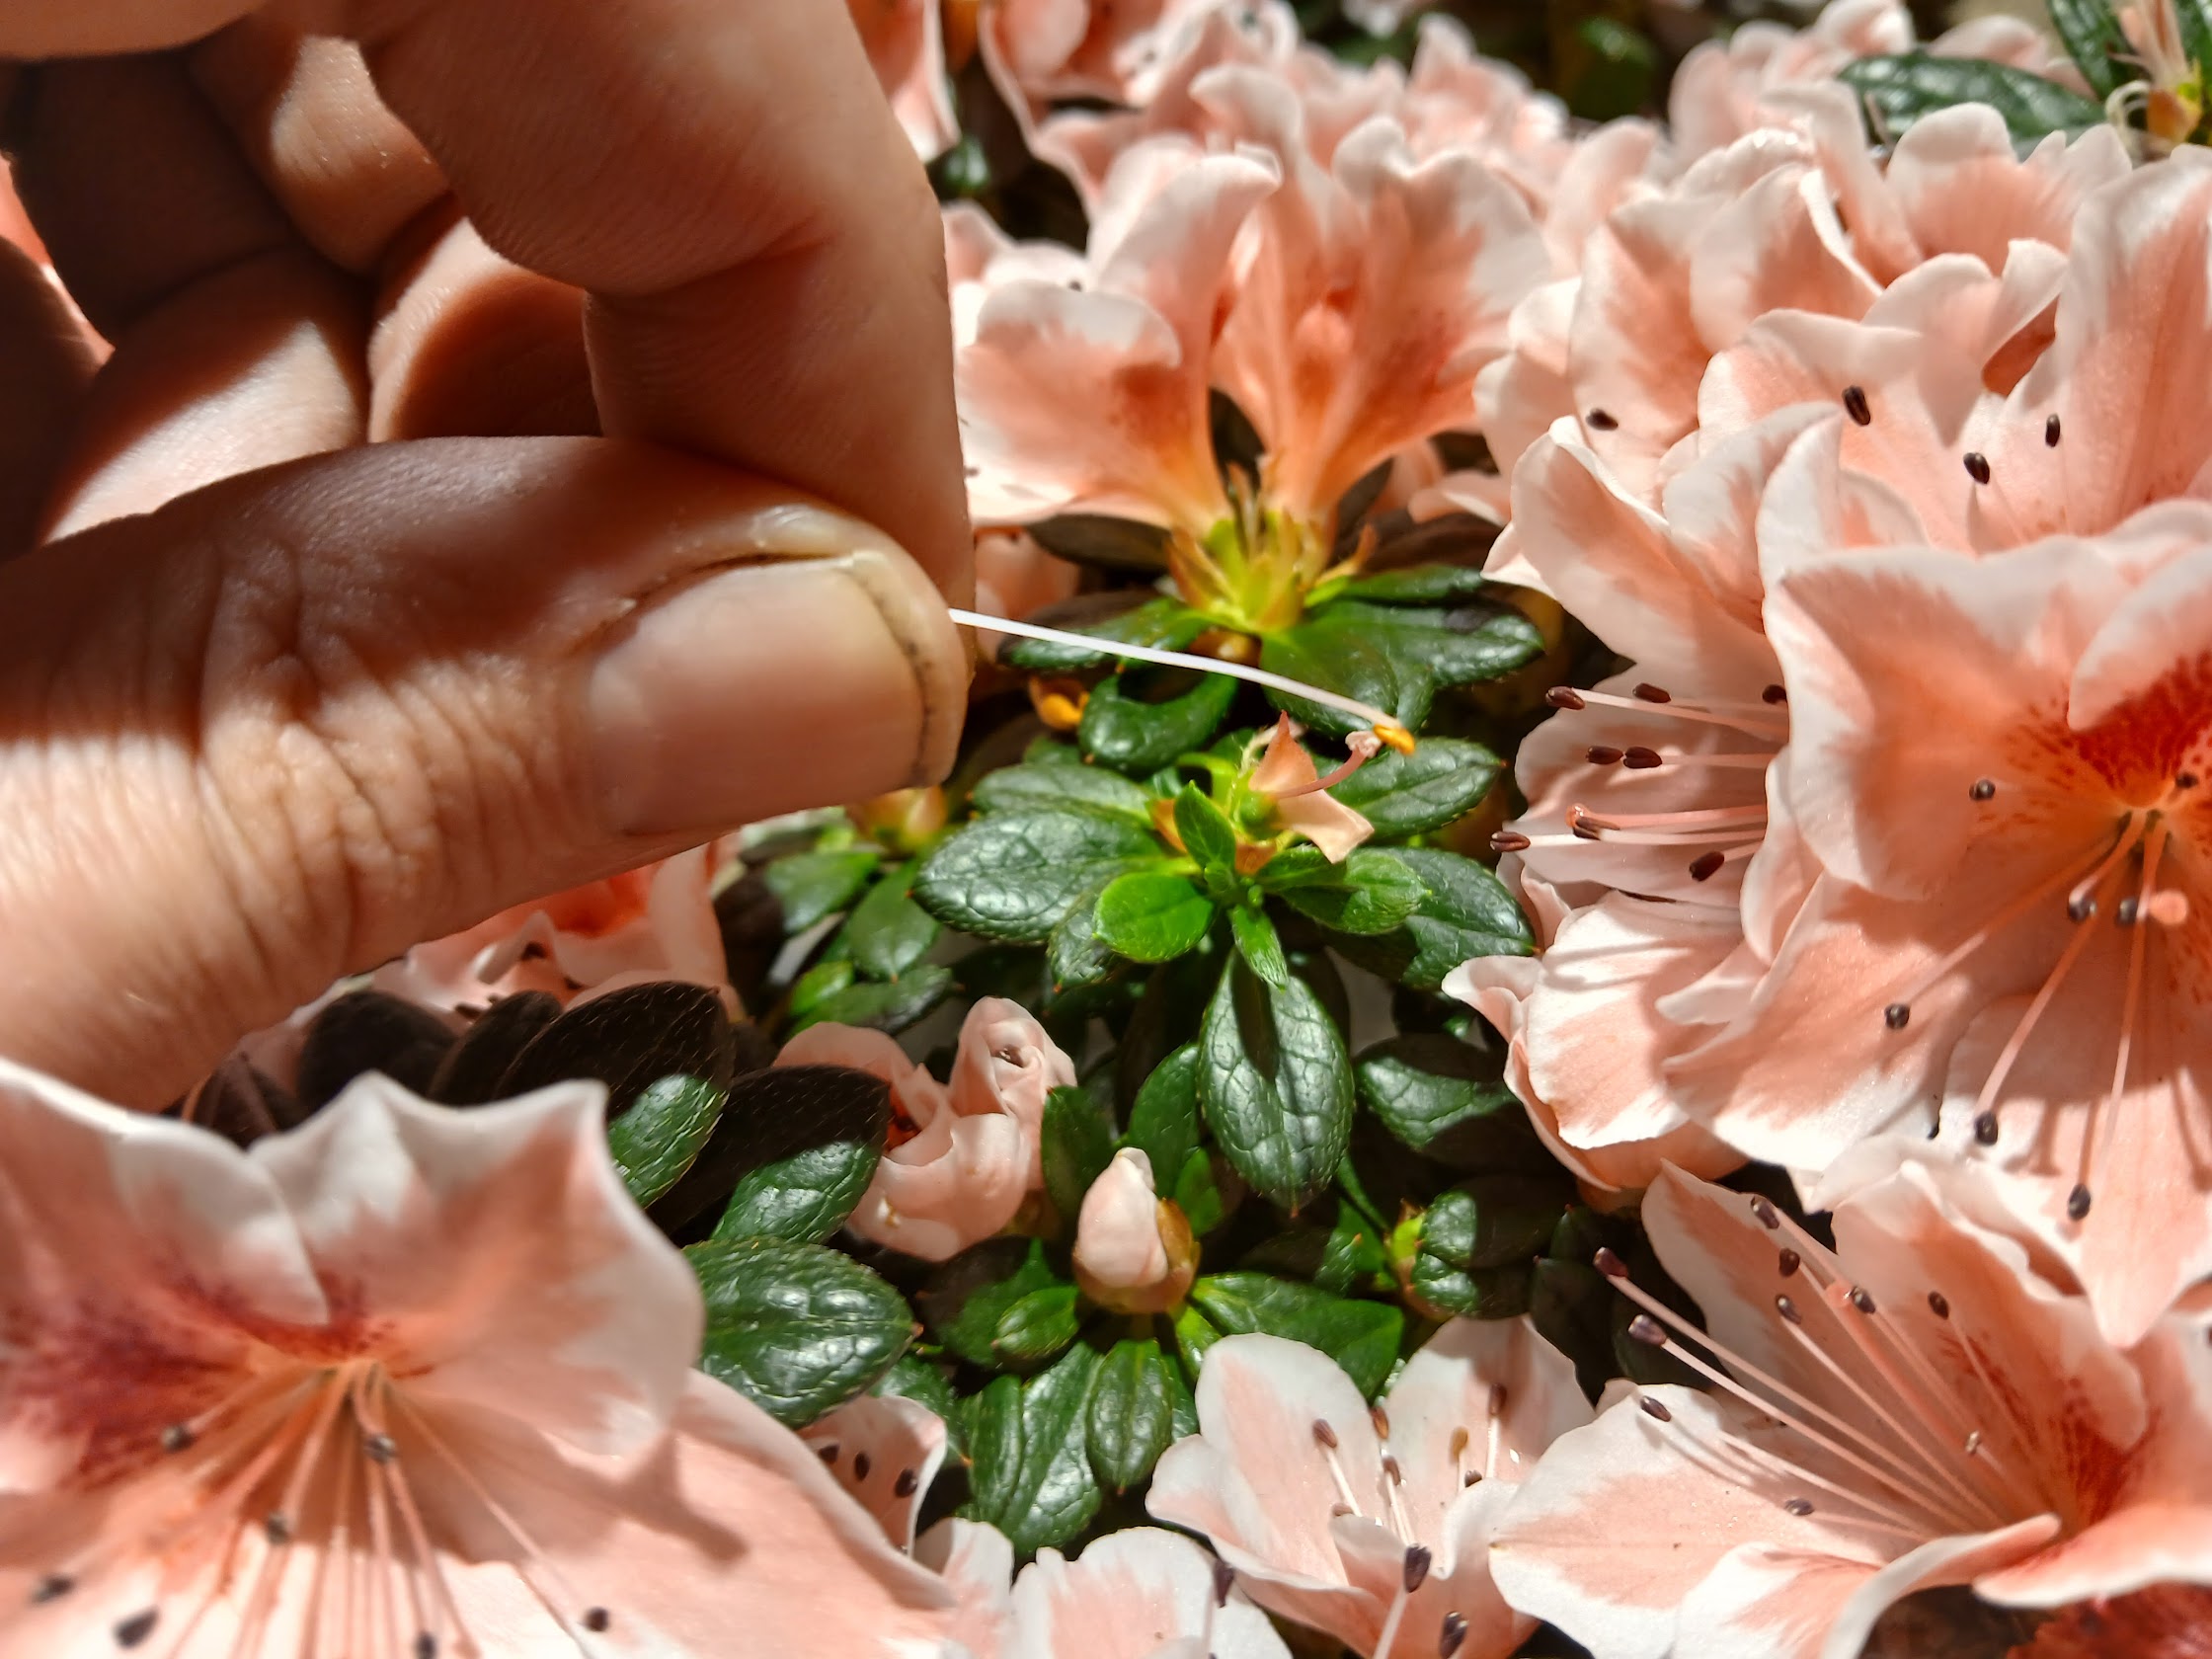
Figure 5. Touch the stigma with the stamen and try to rub it across, depositing pollen.
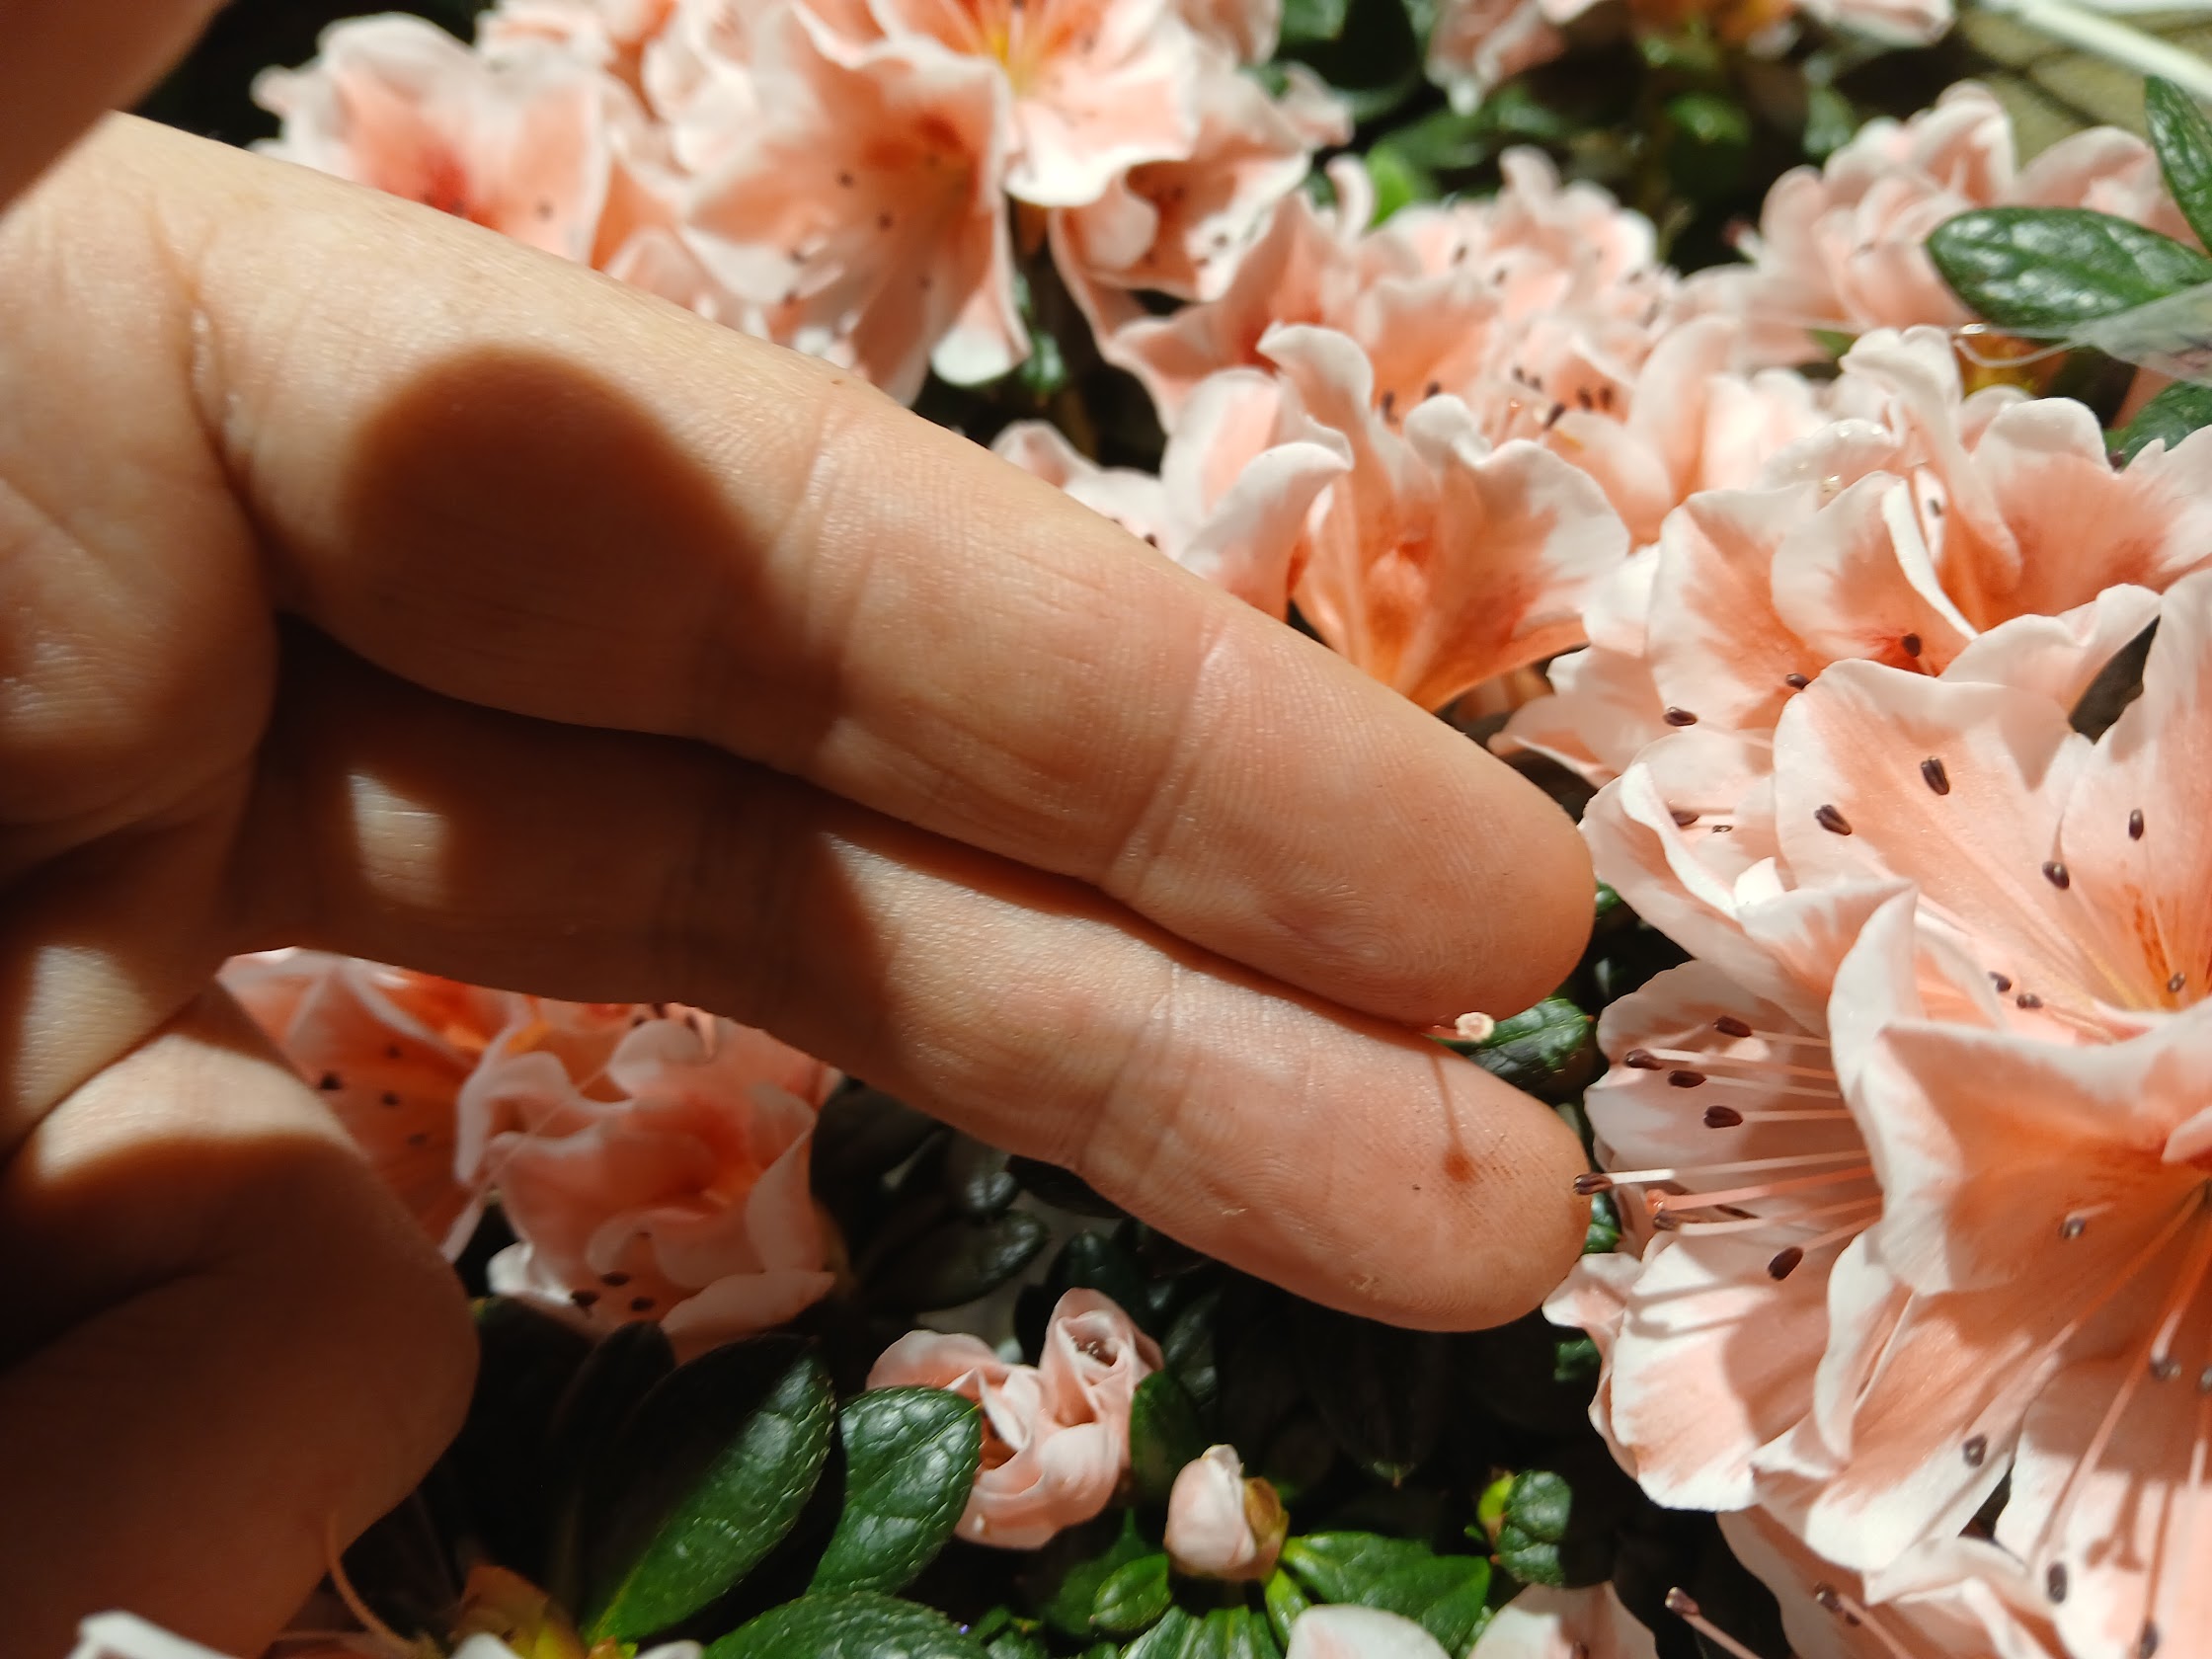
Figure 6. After applying pollen, the stigma has changed from shiny and clean to white and fuzzy.
The next step is to label the flower with a tag indicating the variety used as the pollen parent. This can easily be done by using some nylon string, like fishing line, Scot's tape, and a permanent marker.
A shorthand for the pollen parent can be written on the tape.
The seeds will take several months to mature and during this the stigma may wither and fall off. Therefore, it is important to label the flower around the pedicel. The string loop can go over the flower and can then be tightened.
Assuming the variety of the mother plant is also known and properly labeled, the obtained seeds will have a fullly known parentage, which may help future breeders better built on your current work.
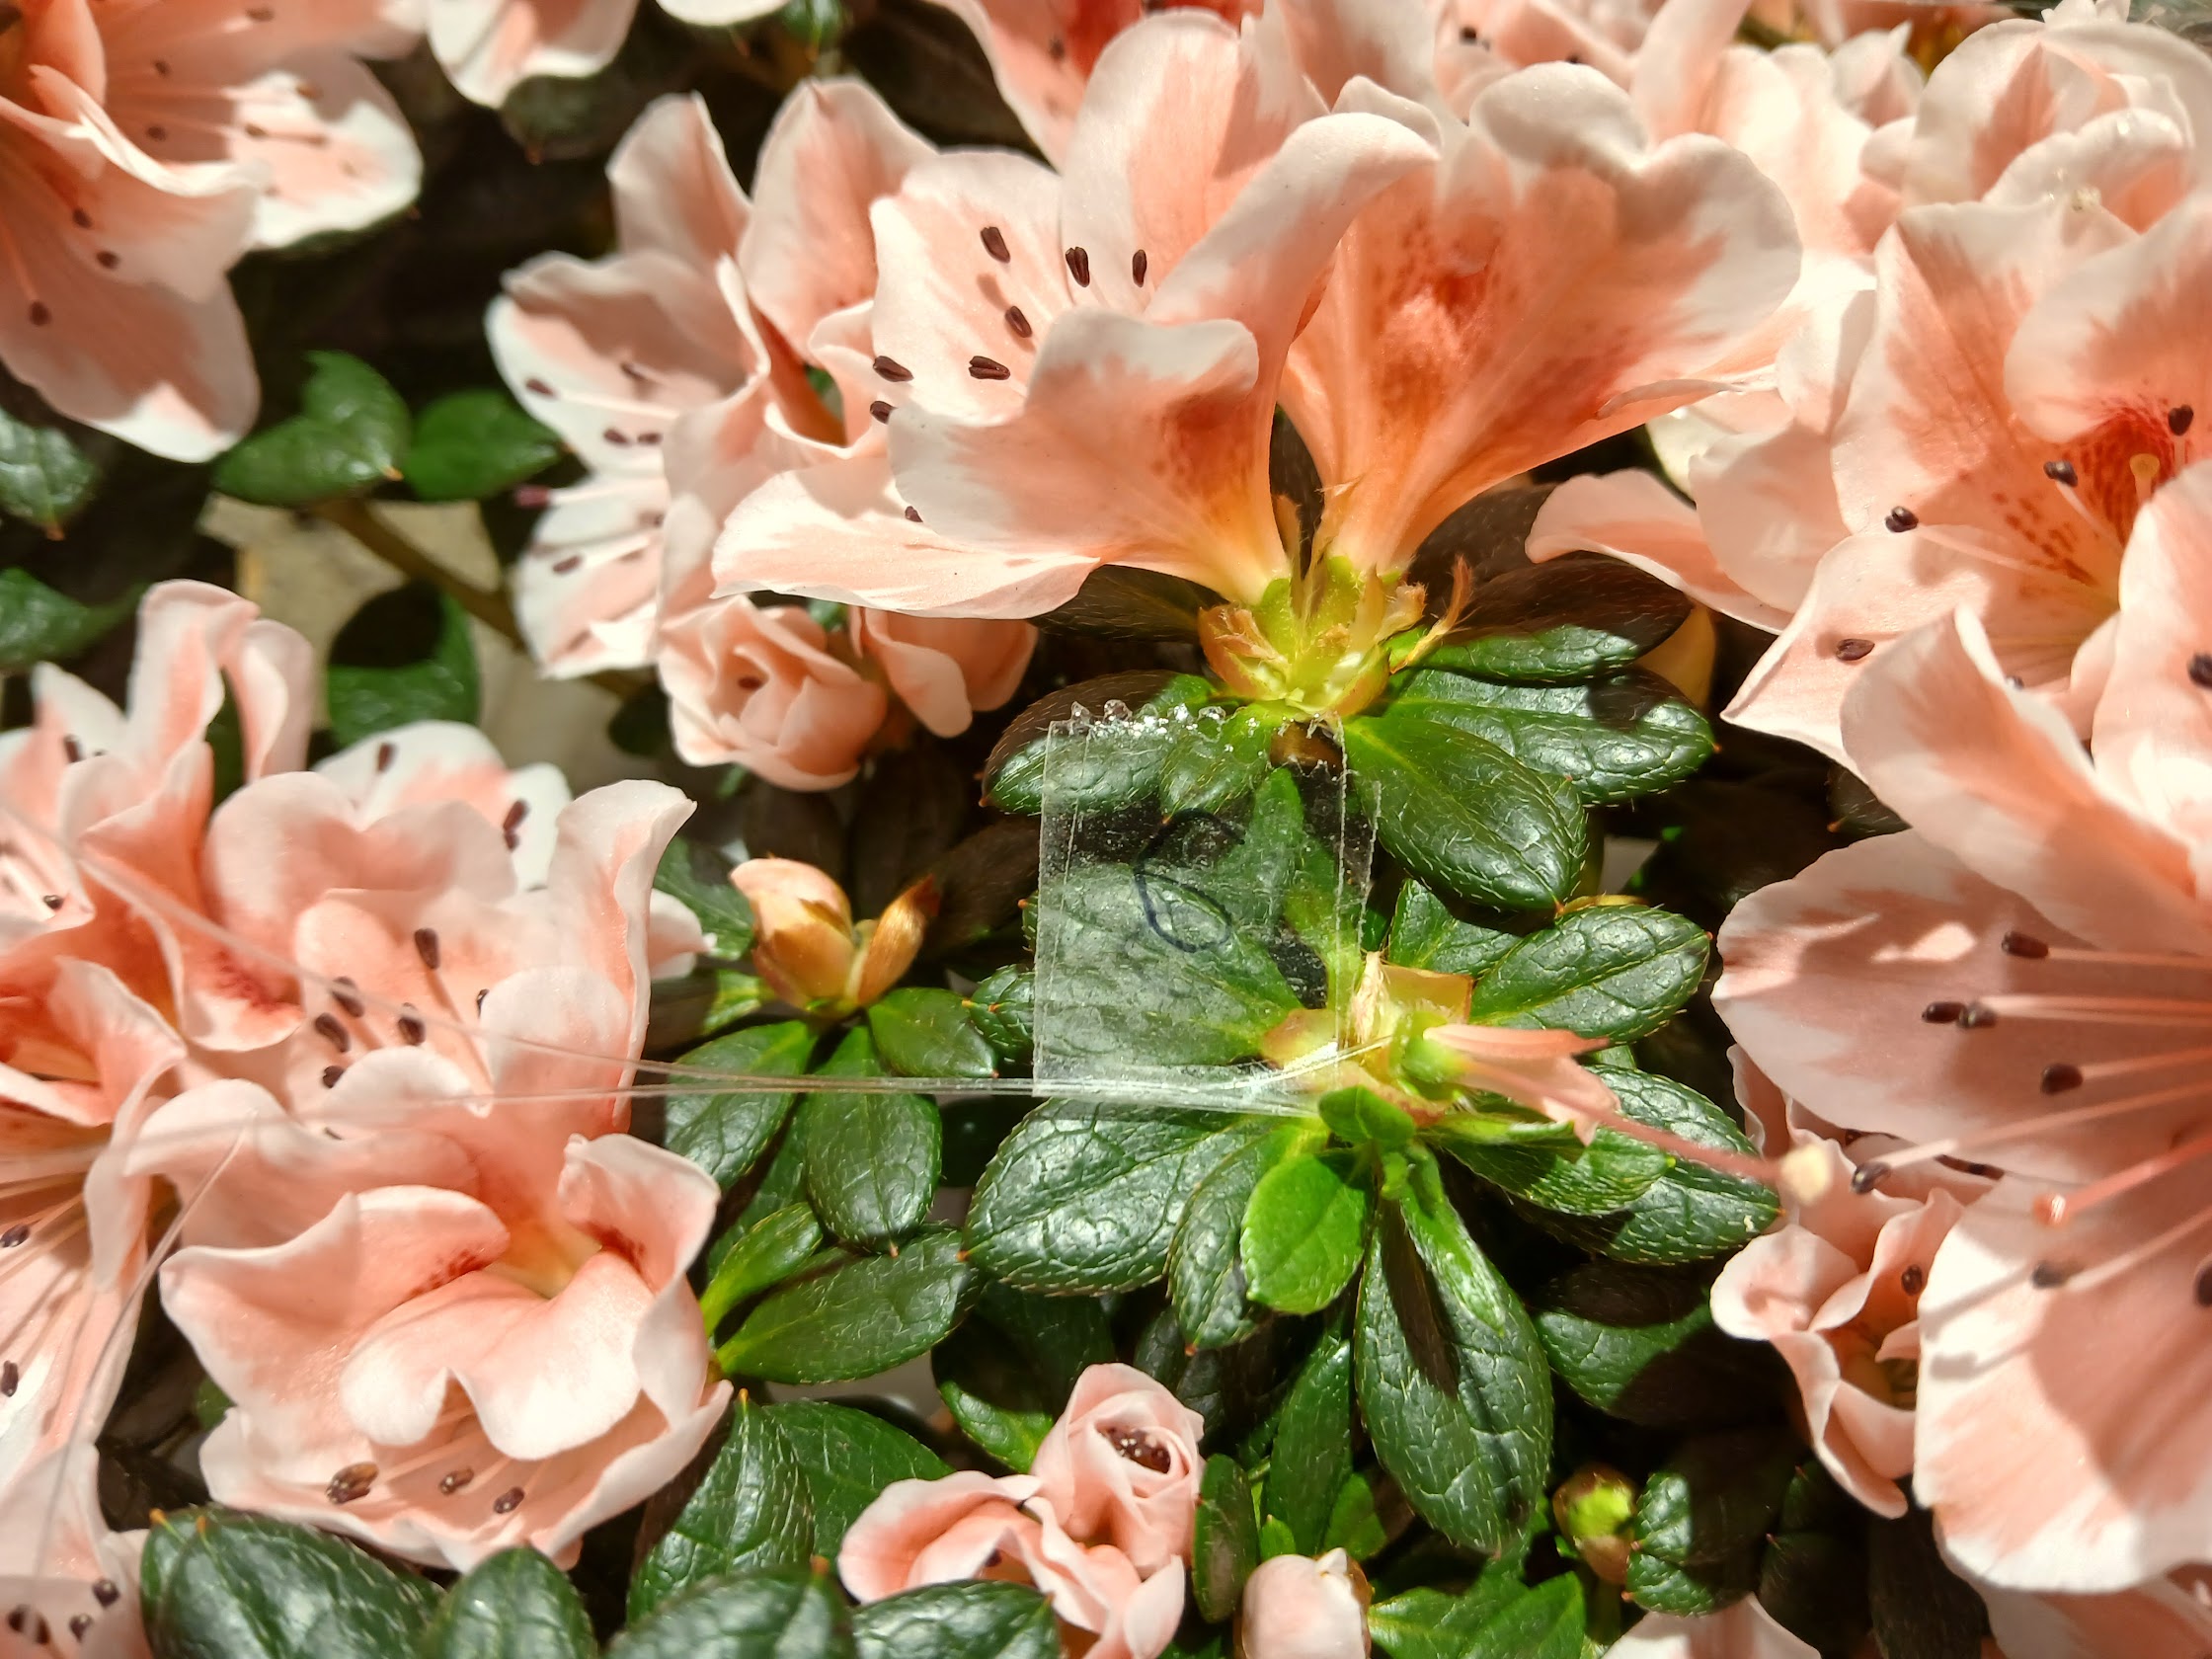
Figure 7. An effective way to label flowers is by using nylon string loops closed with Scot's tape. Here, the upsidedown 'e' indicates 'Hekisui', using the second letter of the name.
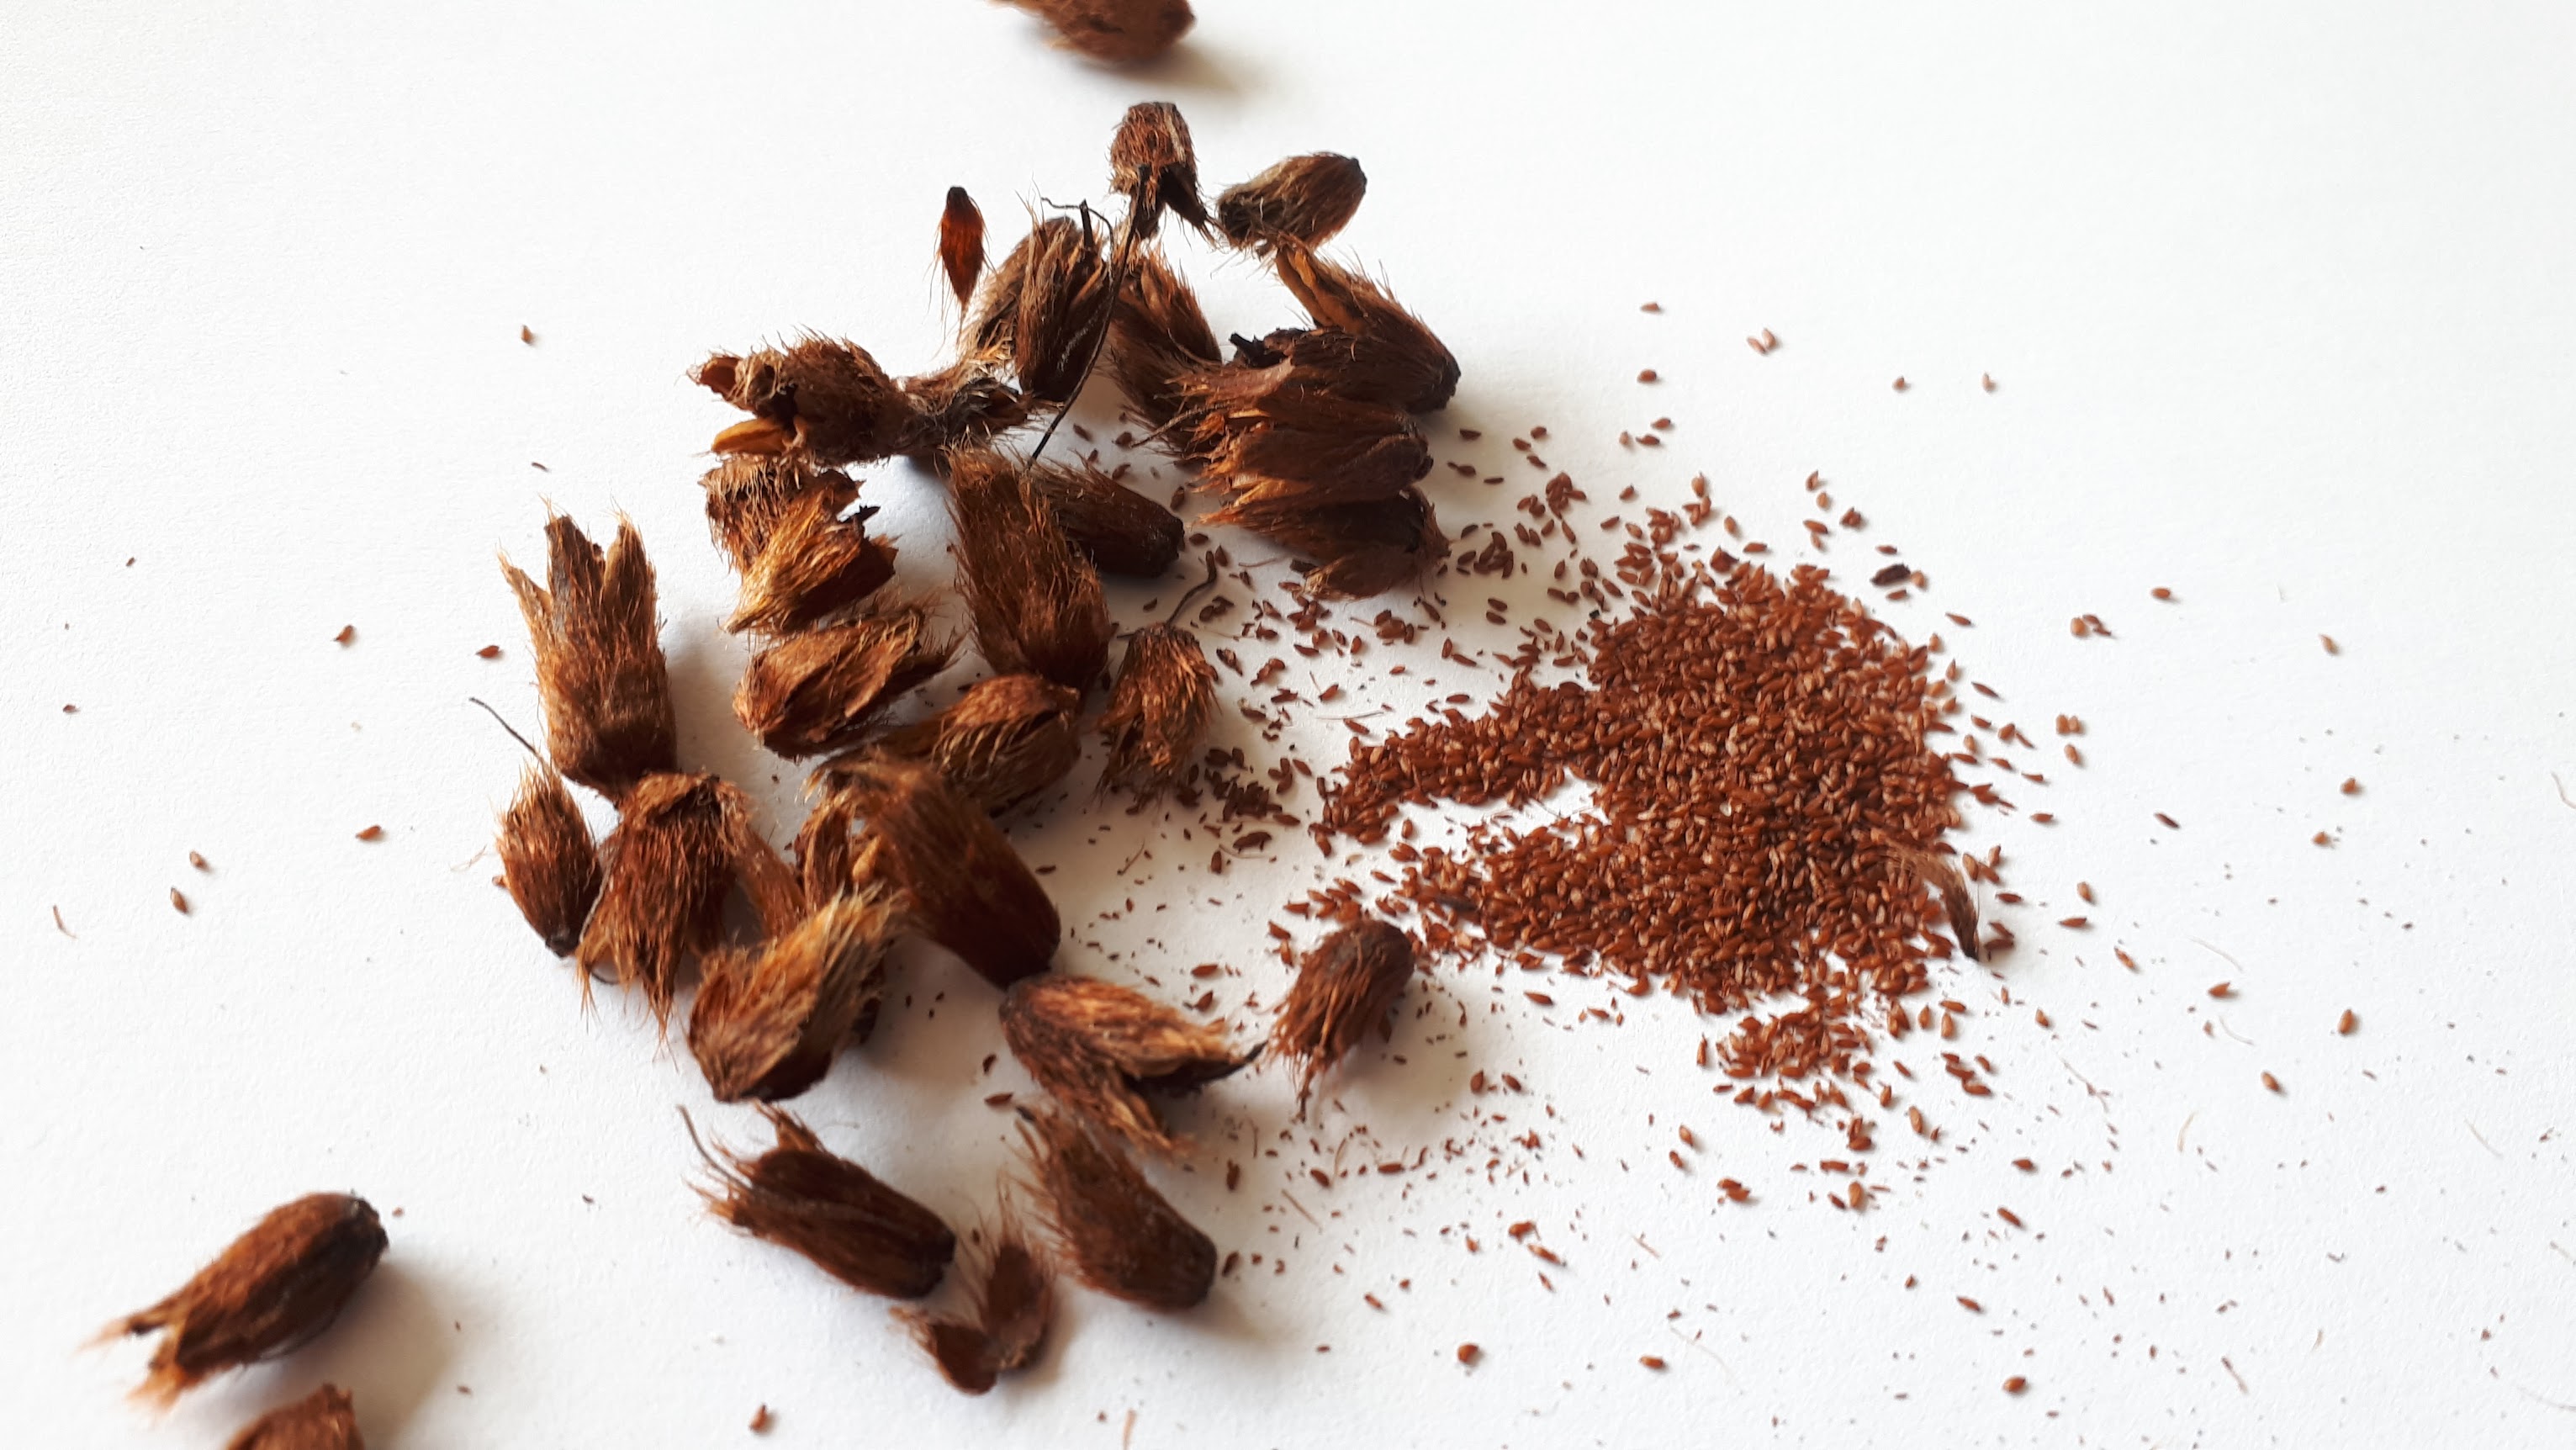
Figure 8. Azalea seed pods and seeds
Harvesting the seeds
It takes at least four months for the seed pod to develop and the seeds to mature. After pollinating the flower, the petals will usually fall of quickly. Then in about one month's time, the fruiting body of the flower will start to appear significantly larger.
Usually, after about two months, the ovule will have reached its maximum size. The larger the ovule, the more gametes succesfully fused to become zygotes, and the more viable seeds the pod will contain.
With azalea flowers pollinated in late April, May and early June, their seed pods should be ready for harvest in mid October. Seed pods will generally stay on the plant but split open during winter, slowly releasing the seeds over time.
Once collected, the seed pods can be stored in paper envelopes and stored indoors at room temperature. As the seed pod is drying it will get more brittle. The seed pod may open by itself. But after about two weeks, it is also possible to crack open the seed pod.
To obtain the seeds from pods that do not split open automatically, I recommend using a small knife and making a cut at the place where the stamen used to be.
Once you have cut some distance into the seed pod, wedge your index fingernail into the cut, and try to split the seed pod in half.
If the seed pod was dried sufficiently, it would be very brittle and tear apart easily. Most seeds should automatically spill out. So make sure to split open the pod above a sheet of paper.
Next, use a needle and rake all the seeds out of the seed pod. A seed pod normally will have five chambers where there are rows of seeds stacked on top of each other.
To avoid fungal growth on debris, the seeds can be cleaned and separated from dust and chaff by sliding them across a paper sheet. Similar to the panning technique for gold.
Dust and hairs will slide at a different rate from seeds. As will larges pieces of seed pod (Fig. 9).
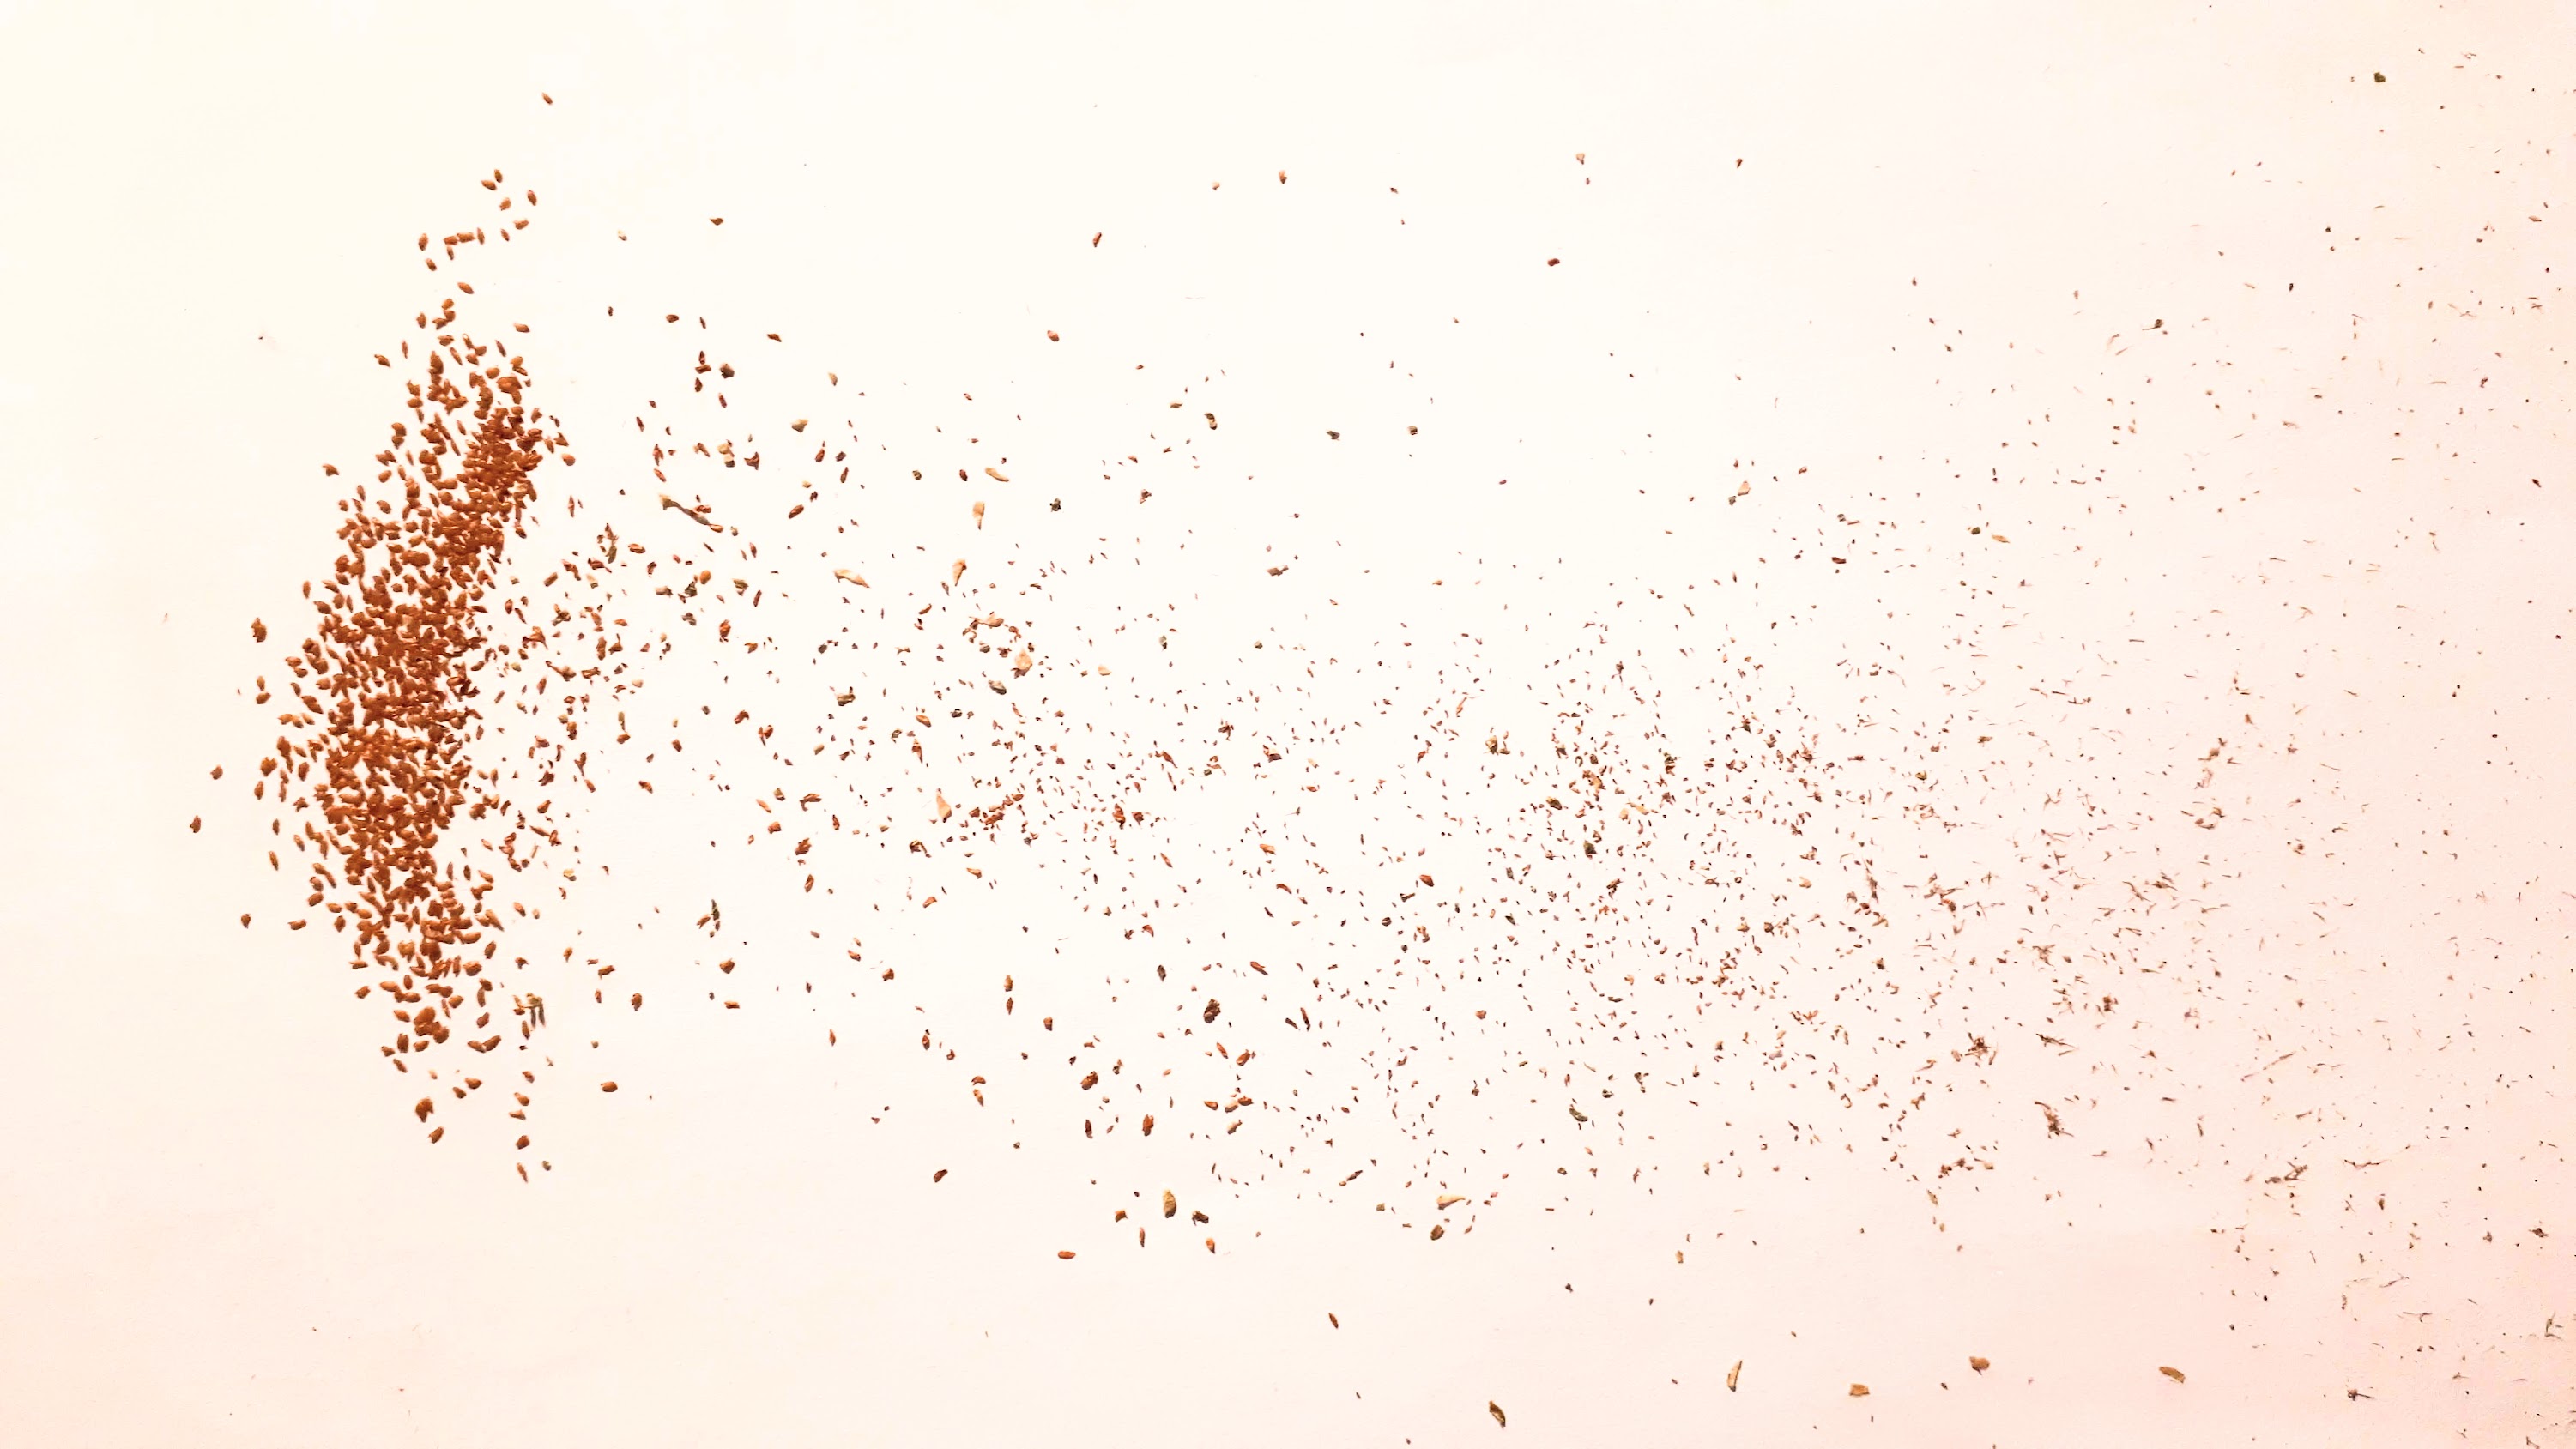
Figure 9. Azalea seeds(left) separated from debris
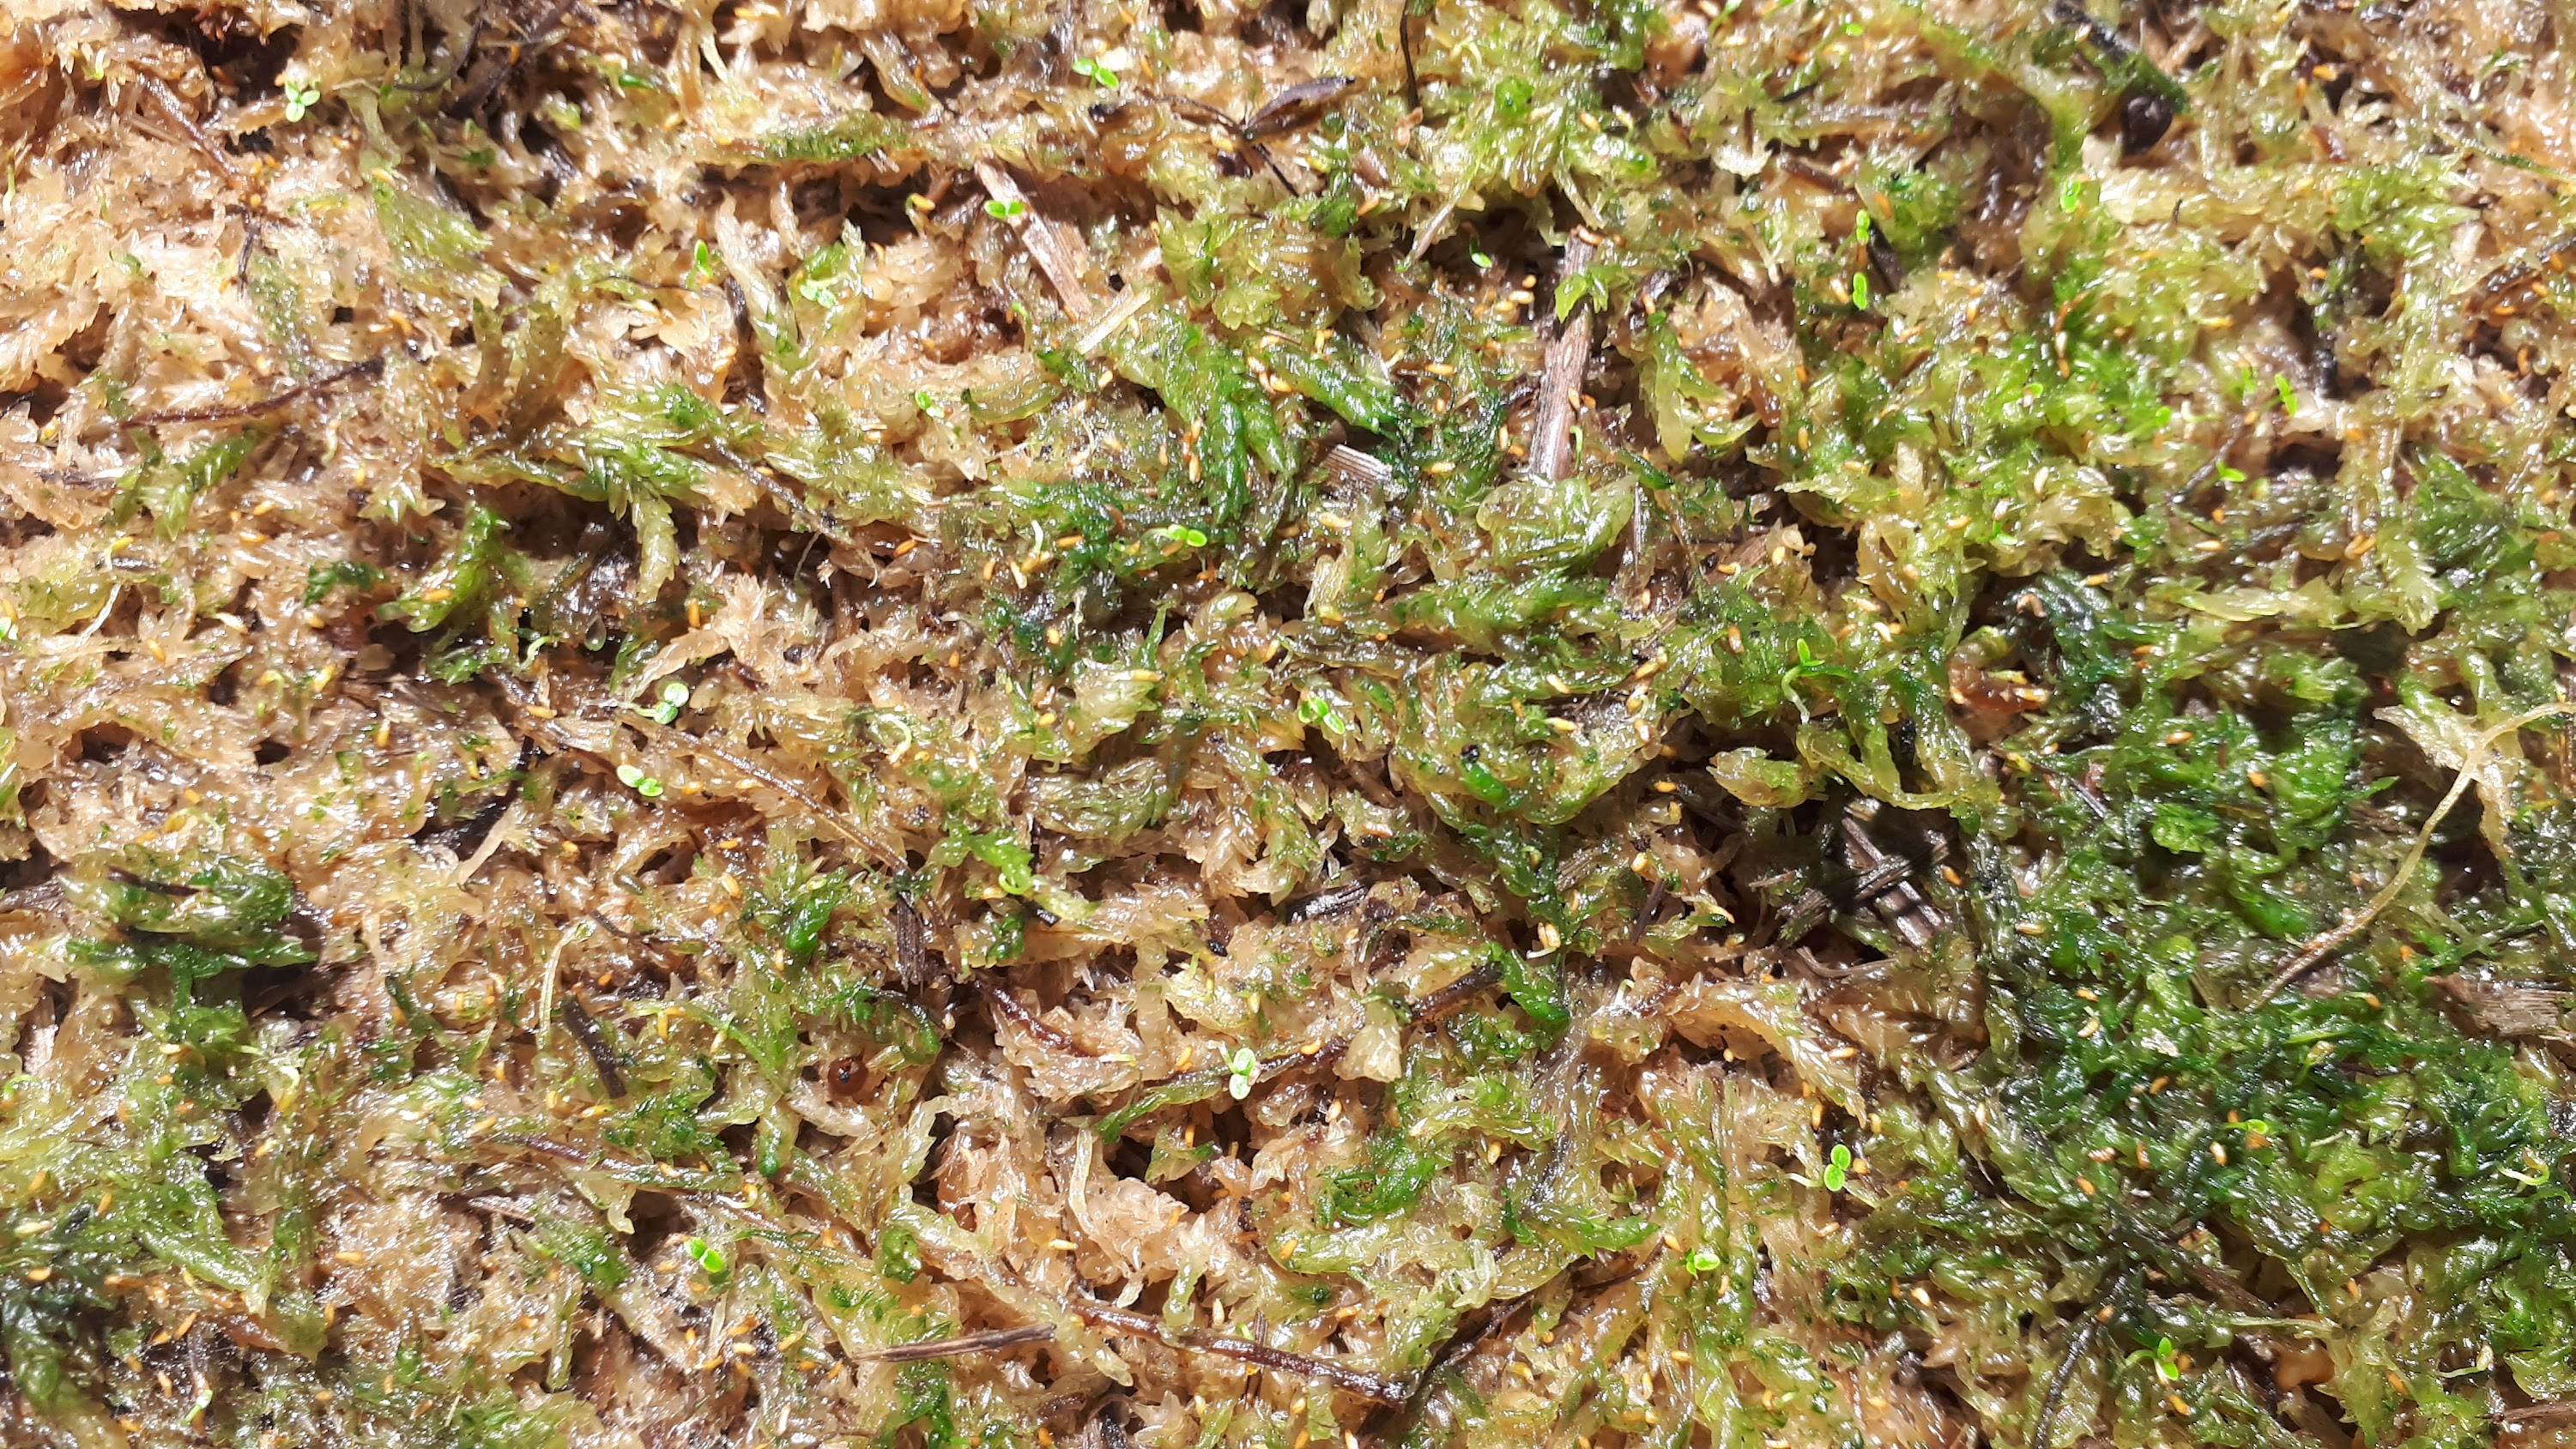
Figure 10. Azalea seeds germinating on sphagnum moss, about 14 days after sowing
Sowing and germination
Azalea seeds require moisture and warmth to germinate. When given 100% humidity and temperatures between 16 and 30°C, they should germinate in 10 to 30 days. Usually, expect the first signs of germination after 14 days.
Therefore, it is best to use trays that have humidity domes as cover. Additionaly, trays with drainage holes that can sit in a bottom tray.
Using trays with holes in combination with a bottom tray allows for bottom watering and for drainage of rainwater, in the case the tray is placed outdoors.
The seeds will germinate best when sprinckled on sphagnum moss, but other organic media can also be used. Germination on substrates like kanum or vermiculite is lower and therefore not recommended.
It is said that the seeds are light sensitive, which is why the seeds are not buried. Additionally, a cycling temperature is said to improve germination.
I have found it best to sow the seeds in a deeper and larger tray. Add your favourite azalea growing mixture to the tray, almost filling it up. I use 50% perlite, with 25% peat and 25% ericaceous potting mix.
Next, I mix in some fine pine bark chips and Osmocote Exact Lo.Start 12 to 18 months. The idea behind the use of pine bark is to add a bit more cellulose and promote more fungal growth over bacterial growth.
The very slow release osmocote pelletized fertilizer will last beyond the repotting time of the seedlings. Together with the short duration fertilizer of the ericascious potting mix, this will provide the seedlings with ample fertilizers.
Remember that azaleas are low feeders that evolved in nutrient-poor soils and are sensitive to excessive salts around their fine roots.
So avoid using 100% seedling starting mixes intended for heavy feeders like tomato or chili pepper plants.
On top of this perlite-heavy mixture, add a thin layer of sphagnum moss or peat, which will act as the direct enviroment for the azalea seeds.
Thoroughly water the tray before sowing the seeds.
Sprinkle the seeds as spread out as possible. Then gently water or mist the surface, put on the humidity done, and place the tray in a warm spot with some light.
I prefer to sow the tray quite densely. This allows me to thin out the slower growing seedlings but still get a tray that will be filled with plants.
The combination of the dense sowing, the deep tray, and the added osmocote, thinning out to prevent excessive overcrowding, allows me to keep the seedlings in that tray for the first full growing season.
By starting seeds early indoors, late autumn to early winter, the seedlings will sizable by the time full spring and warm night temperares arrive in late April or early May.
As this time arrives, or when the seedlings start to touch the humidity domes, the seedlings should be gradually hardened off. This is achieved by removing the humidity domes. First for a brief period, ie an hour. Then several hours, then a day, etc.
Finally, when there is cloudy, cool or rainy weather outside, the seedlings can be moved outdoors.
Frost, hail, direct sunlight, low humidity, strong winds, they can all damage or kill the seedlings at this stage.
One technique to optimize seedling distance is to use a smaller tray for germination, and to move germinating seedlings to a new tray, and space out the seeds in a grid pattern.
This is a bit labour intensive but can be helpful for seeds from crosses with unreliable germination. By manually placing every seedling into a new tray, thinning of seedlings it not needed and seedlings are less likely to entangle their roots.
The most conventient moment to do this is before the seed fully germinates. This stage is usually found between day 10 and 16.
The root will not have entered the soil yet, and its sake allows one to easily hook and take out the seed, using a toothpick (figure 11).
One can also decide to transpant out seedlings, to give them more space, at a later stage. For example when they already have their first true leaf. This stage can be observed after about one to two months.
At this stage, the seedling will have invested a lot of energy to grow roots, so uprooting the seedling at this stage, requires one to be gentle (figure 12).
One method is to use a toothpick and push the sphagnum mos near the stem of the seedling sideways, trying to free up the main roots, without damaging.
Once this is achieved, one can use the index and thumb from the other hand to push the leaves of the seedling inward and together, to then very gently tug on the seedling,
If the stem of the seedling snaps off at the base and most roots are lost, the seedling can regrow new roots, given 100% humidity.

Figure 11. An azalea seedling about to germinate, hooked up by a toothpick
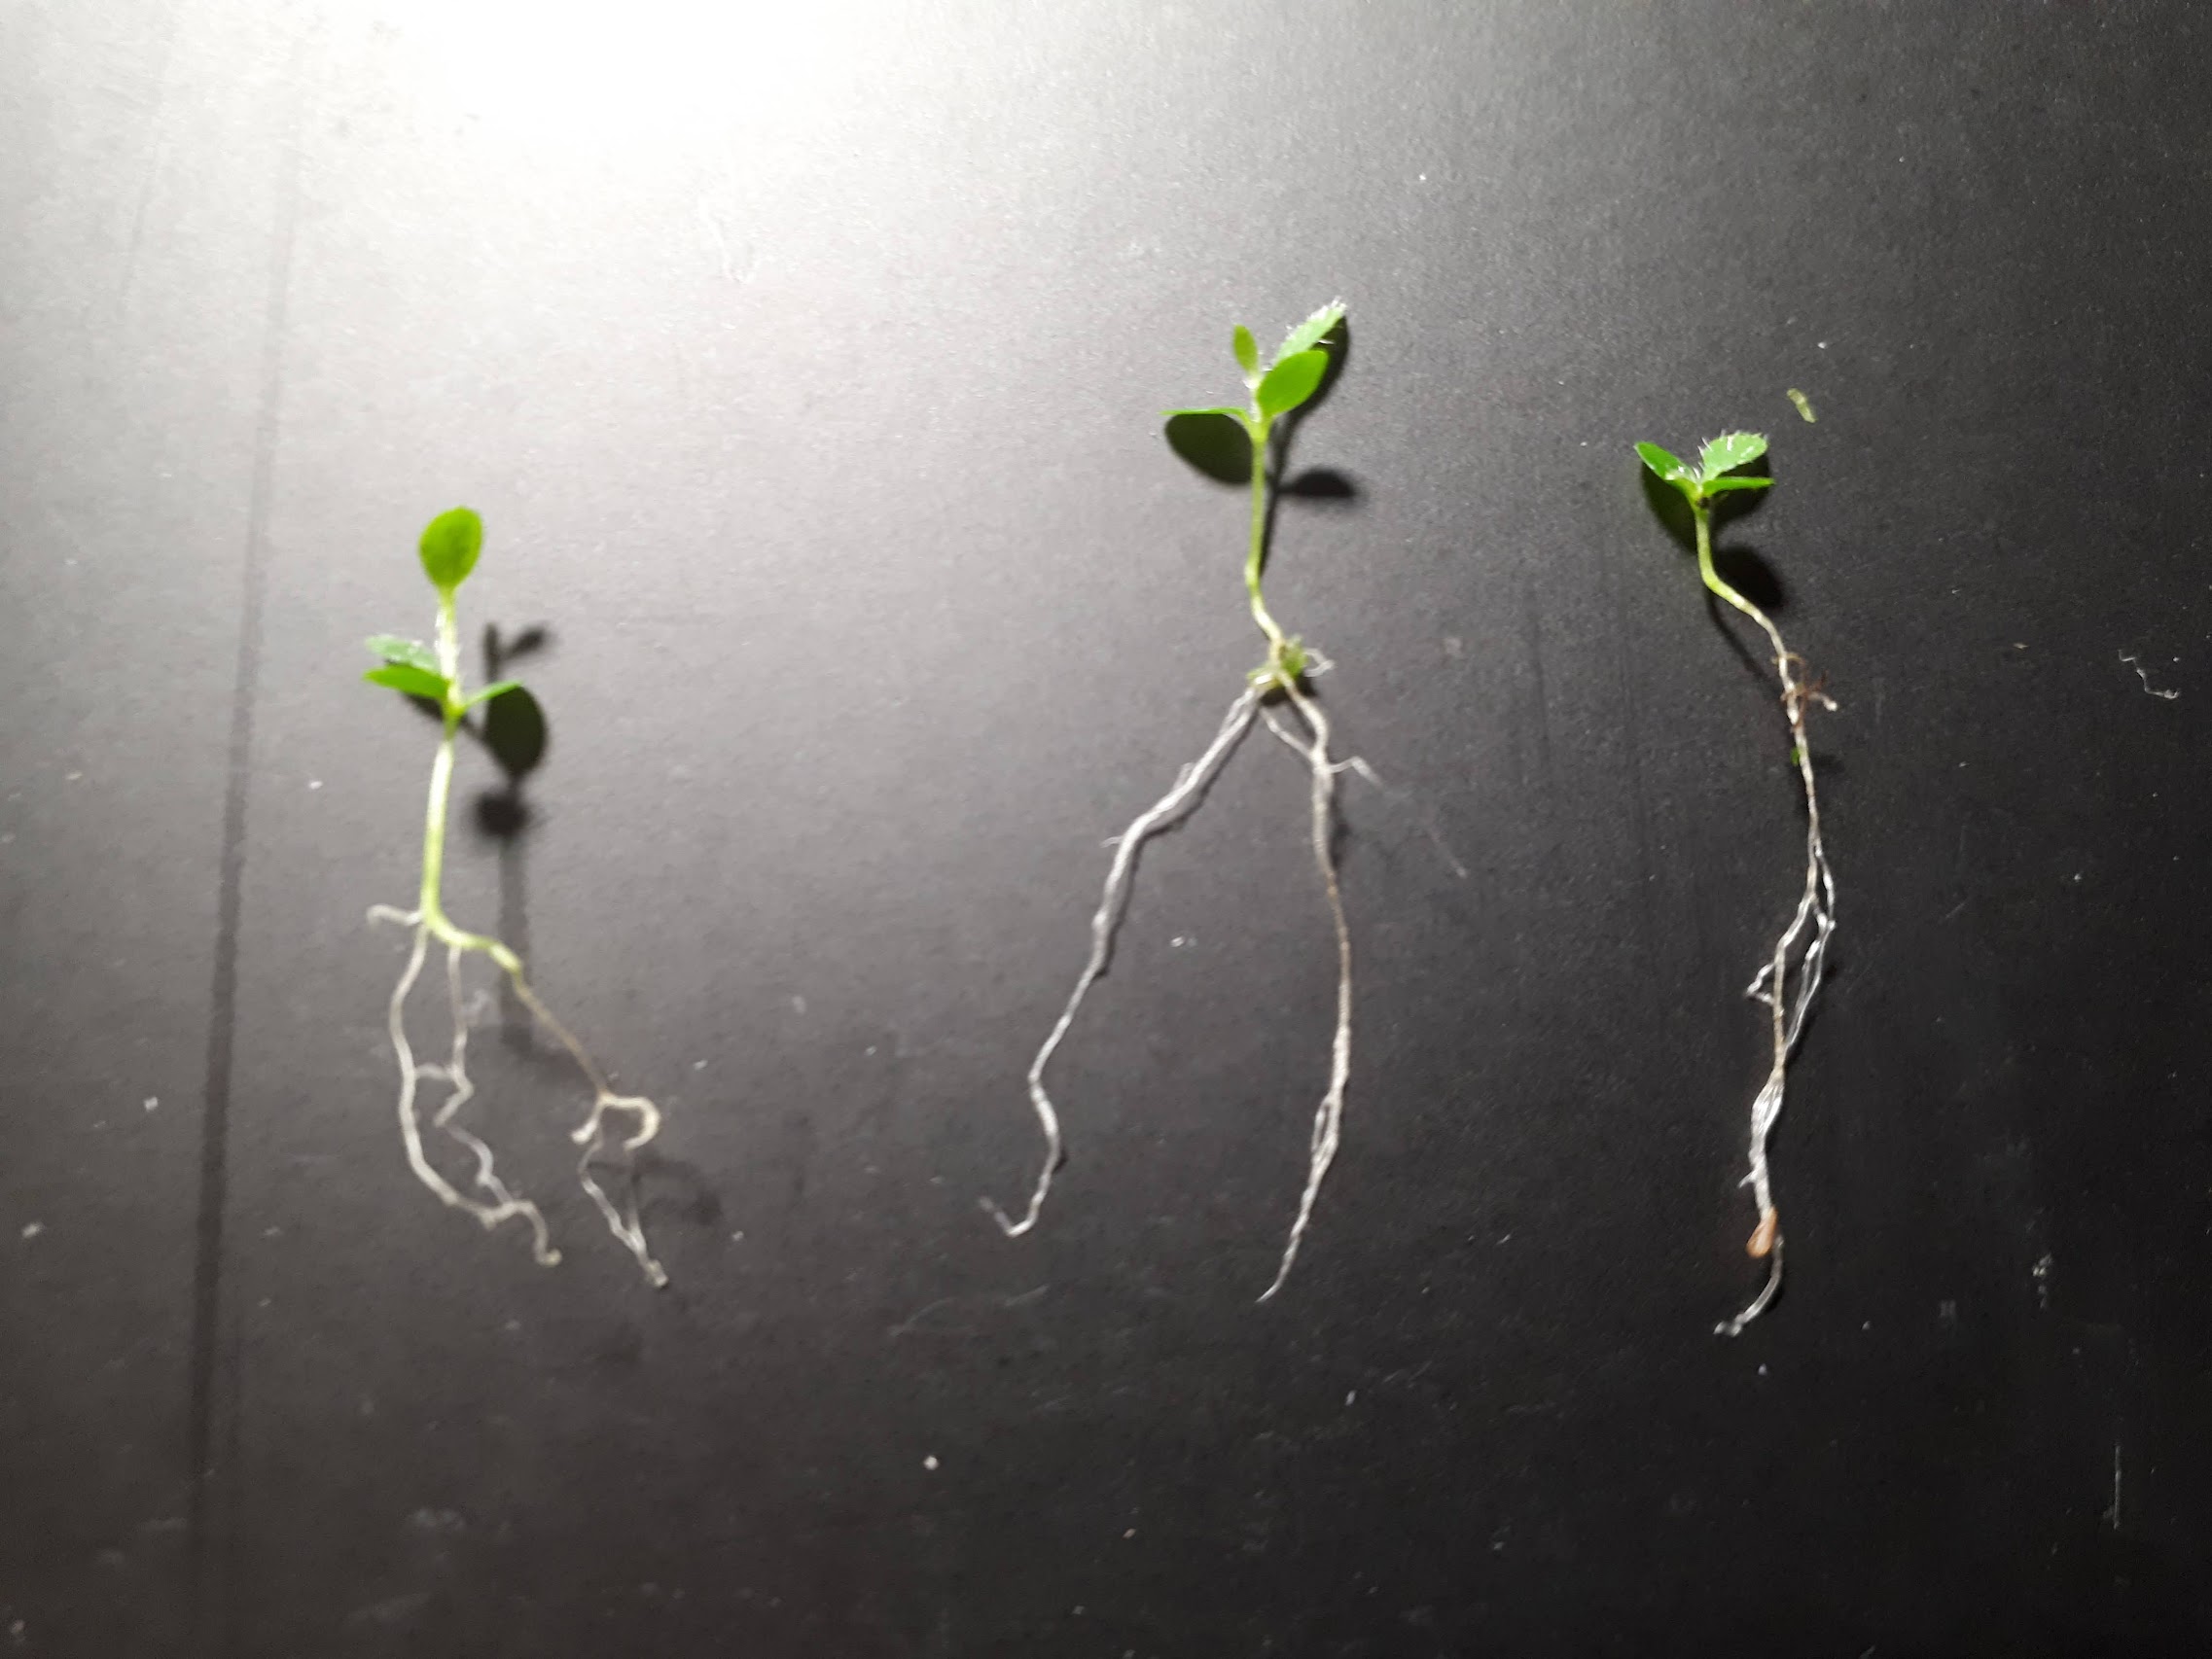
Figure 12. Seedlings at about 1 month of age, gently removed from the sphagnum and ready for transplanting
Seedlings that are two weeks old can be transplanted by simply laying them down on the surface of a new tray with peat or sphagnum moss.
Use this opportunity to space out the seedlings in a grid. About 1 to 2 centimeters (0.4 to 0.8 inches) space between the seedlings is about ideal (figure 13).
For seedlings older than a month with more roots, these roots should be buried. Create a hole using your toothpick, then use your toothpick to guide the roots into this hole.
Once the seedling is placed in this hole, carefully push some of the potting mixture up to the seedling, to close up the hole.
Make sure to provide 100% humidity to transplanted seedlings. Once they are more established, the seedlings can be hardened off by removing the dome for short periods of time.
While warmth and 100% humidity is recommended for seedling germination and initial growth, this does come with the risk of fungus.
Look out for white, hairy growth every few days. In some cases, fungus can specifically target the seedling, killing them.
When fungus is observed, the seedling tray needs to be treated by either a fungicide or diluted hydrogen peroxide.
Diluting consumer grade 3% solution of hydrogen peroxide 10 times, to a final solution of 0.3%, and spraying this solution onto the plants using a watering method with a fine nozzle, like a squeeze bottle, is the most convenient method.
Be careful with aerosolizing fungicide solutions indoors. After treating a tray once using fungicide or hydrogen peroxide, more fungus will usually not emerge.
Additionally, algae, cyanobacteria, liverworts, and moss can grow inside your seedling tray.
Rarely and depending on the quality of your seedling mix, weed seeds may also appear.
Trays that use sphagnum moss usually stay cleaner than trays with peat. Boiling sphagnum moss before use will also help keep it clean longer.
Not using a grow light during the first 14 days will
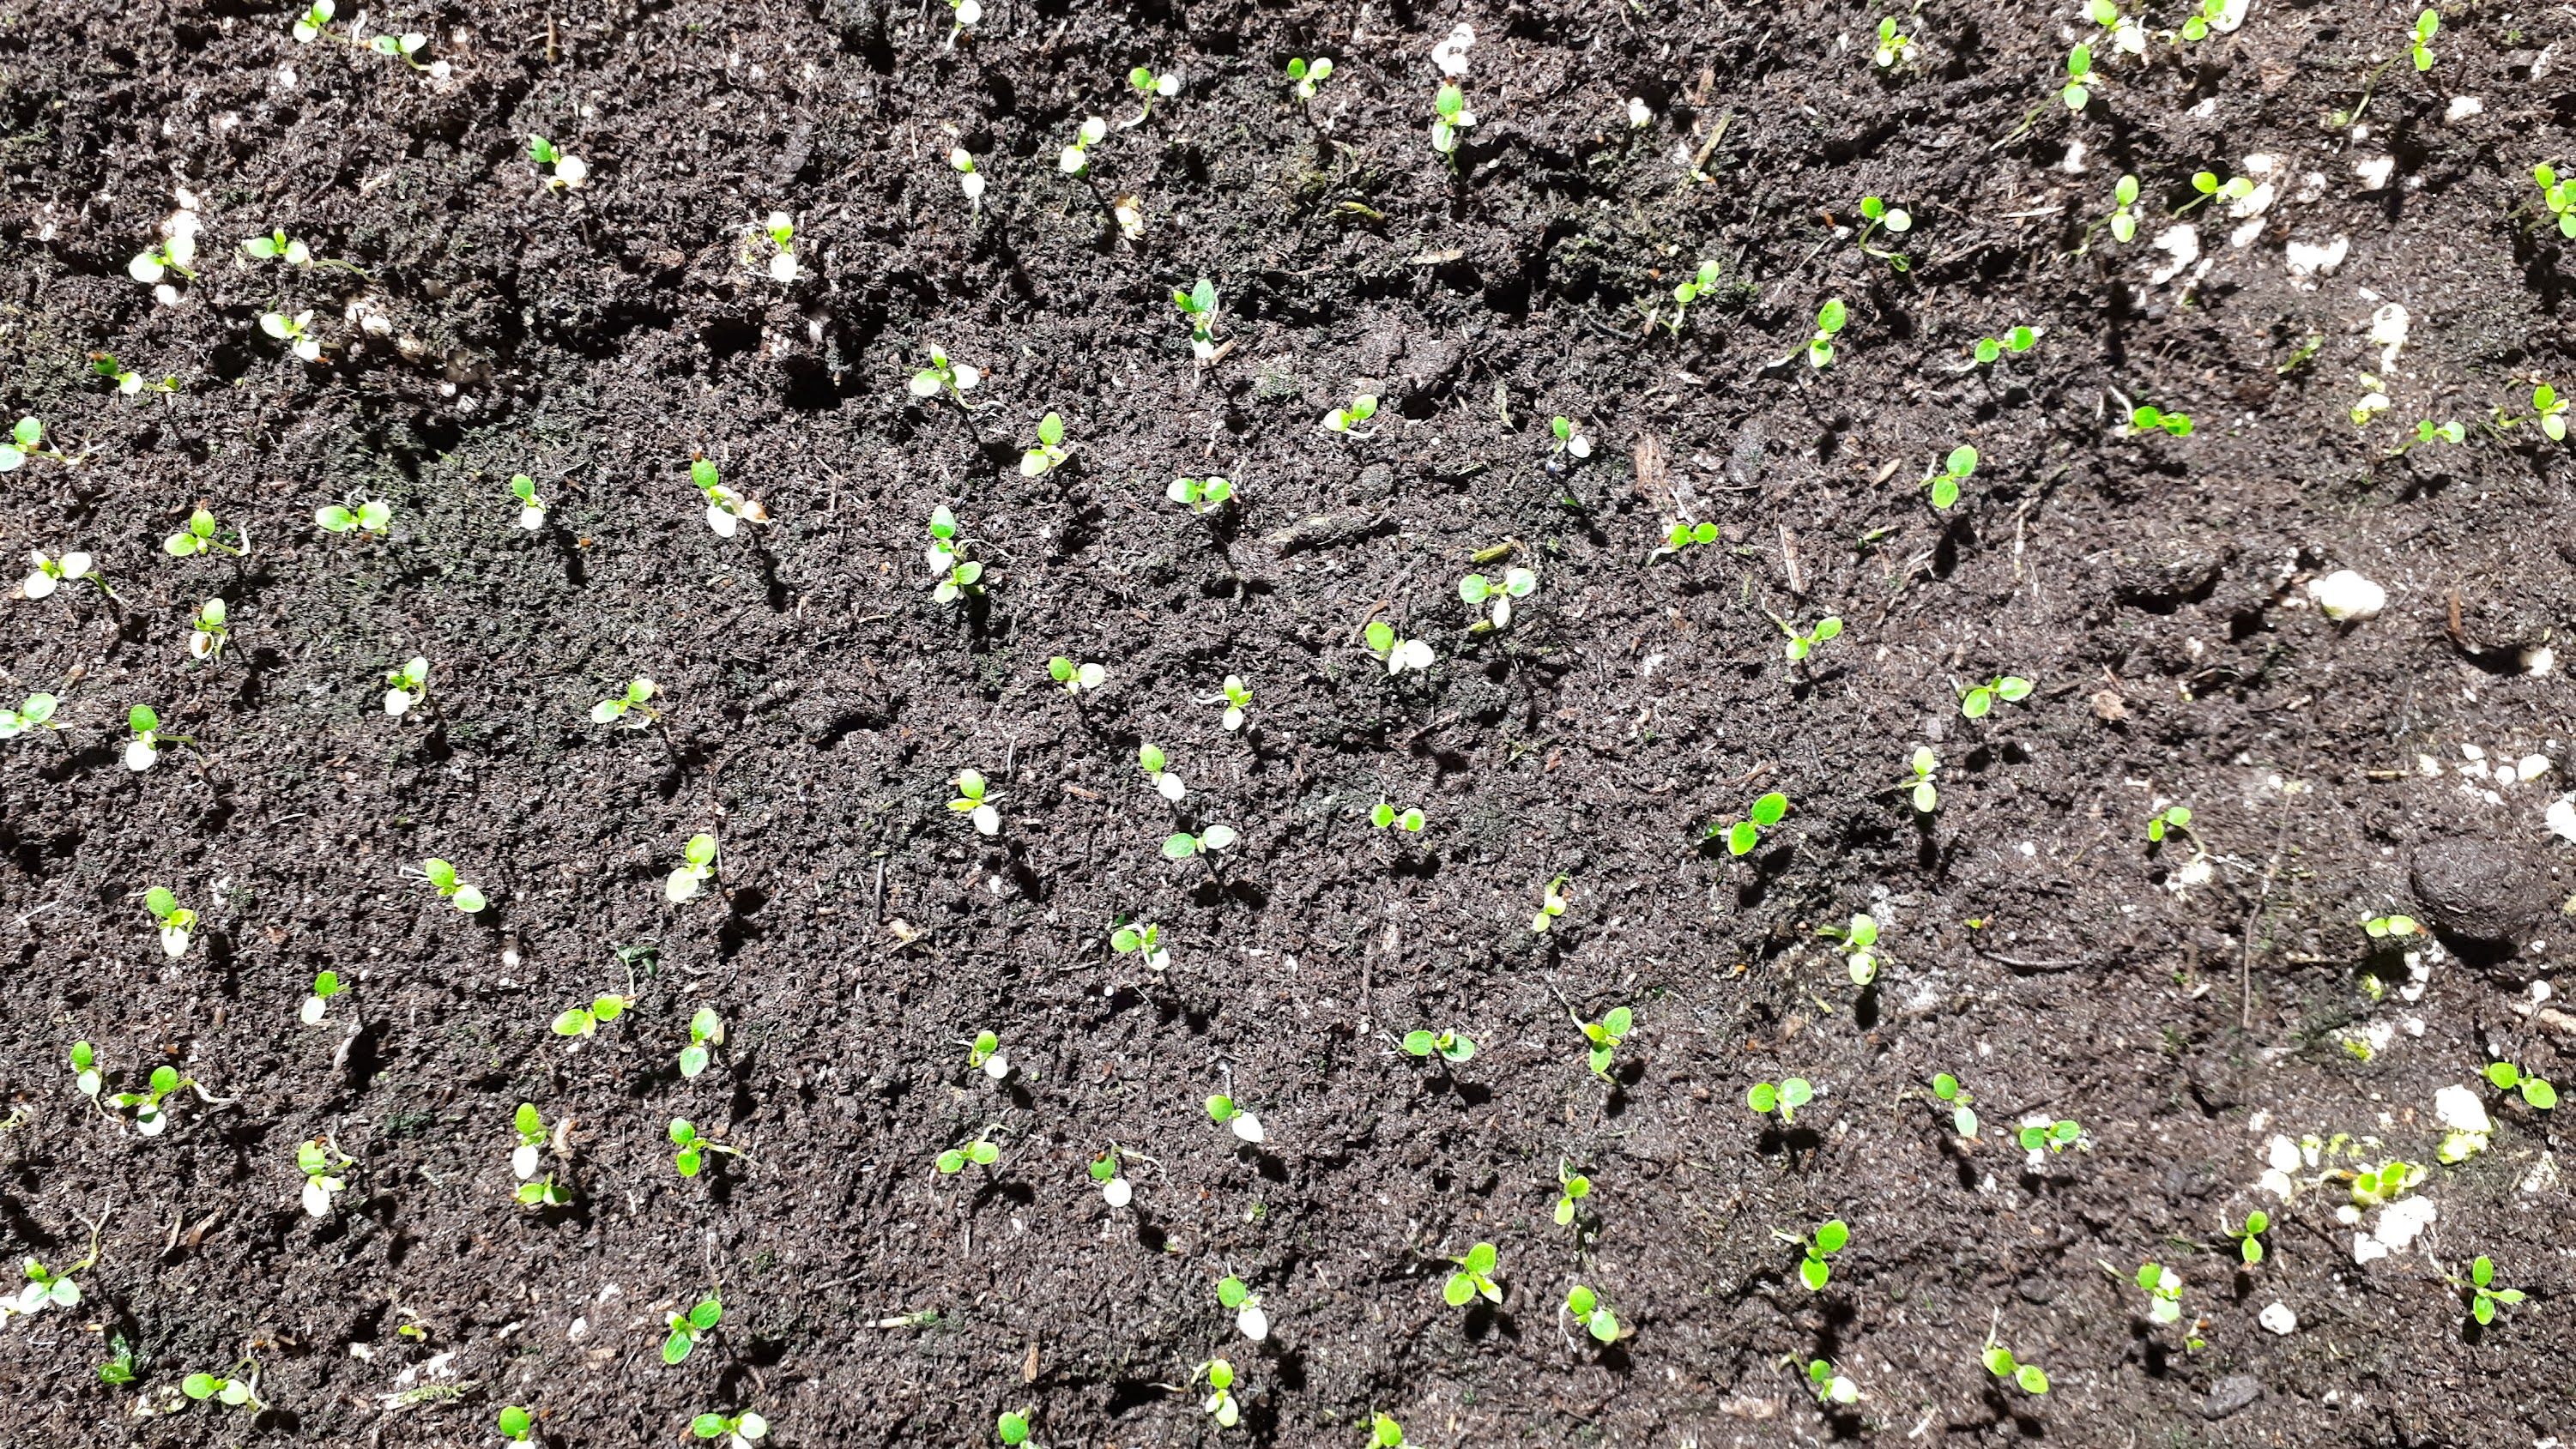
Figure 13. Seedlings transplanted to a second tray, spaced out.
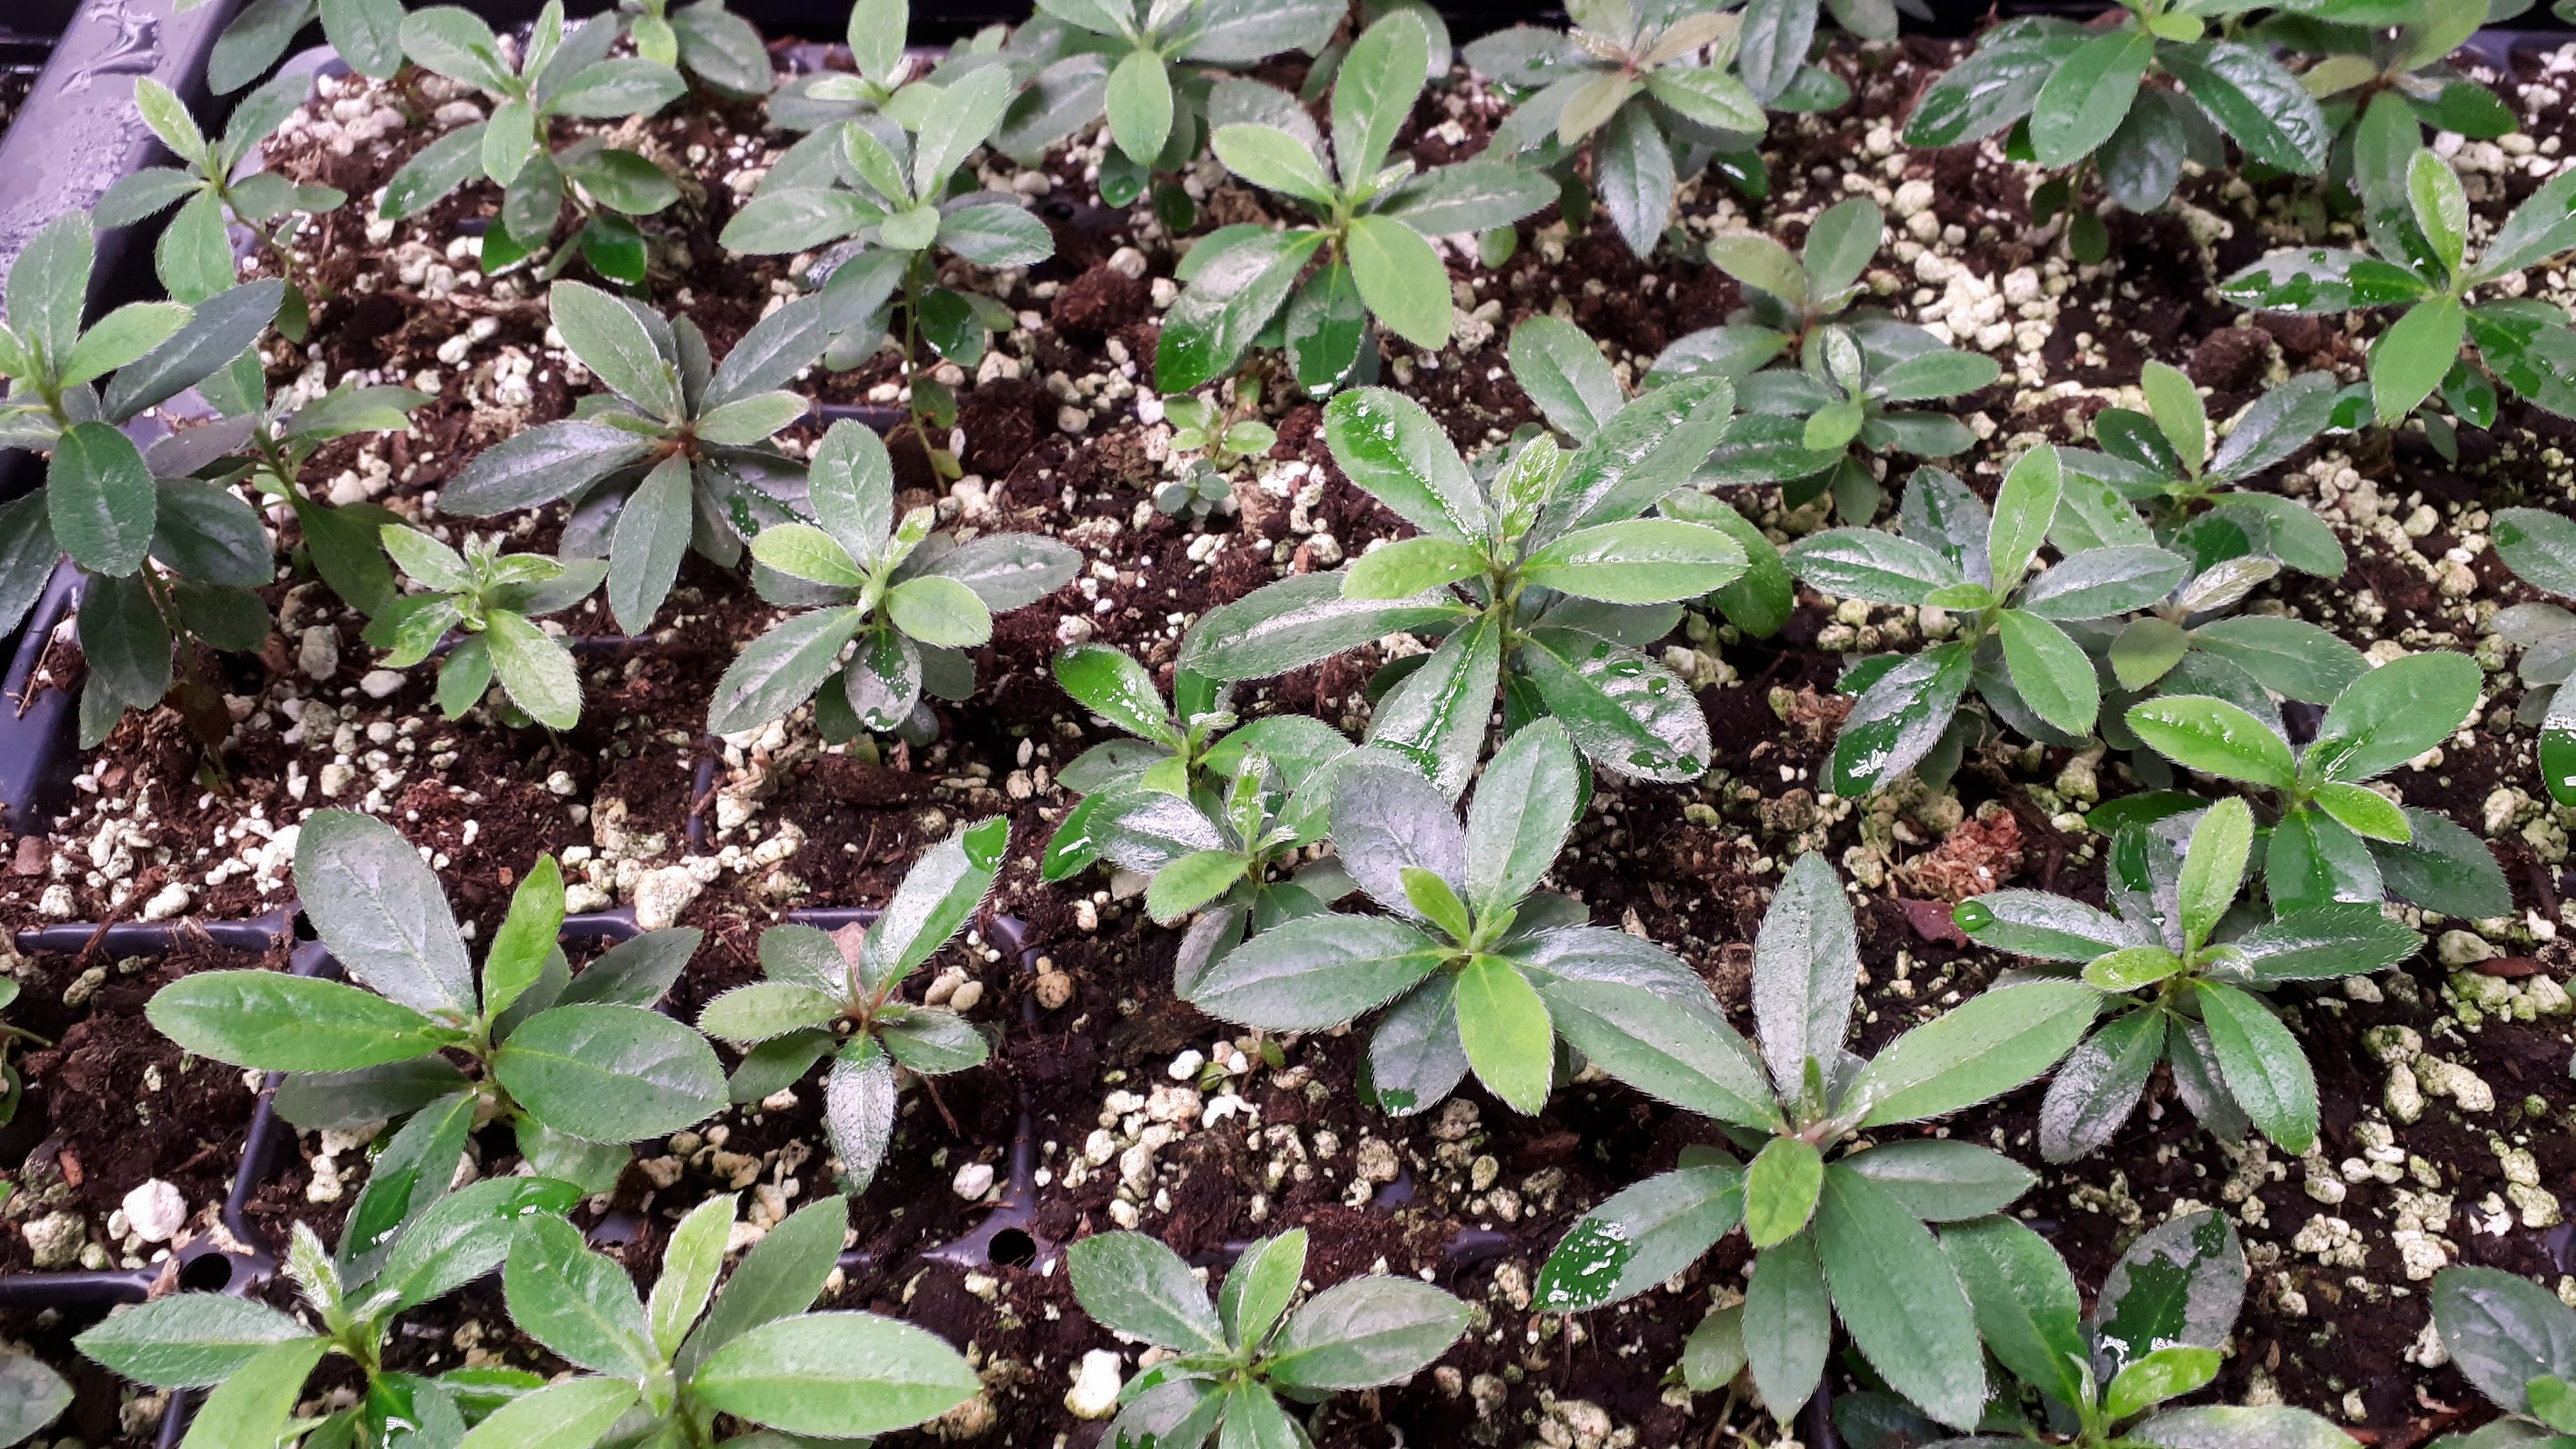
Figure 14. Azalea seedlings at about 6 months of age, transplanted into a 5cm cell plug tray .
The first transplantion of your seedlings
When roots start to fill all of the tray, it is time to transplant the seedlings to larger containers. This could be done after 6 months of indoor growing under LED lights.
But for slow-growing seedlings or seedlings grown in spring, this may also be done at the end of their first winter.
I prefer to either use plug trays or 9cm pots (figure 14).
At this time, I should be able to remove the entire block of potting mixture, filled with roots, out of the tray. The roots can be untangled or the seedlings can be cut apart with a pair of scissors.
Seedlings may be fused, depending on the spacing and the density. A pair of fused seedlings is not a real problem. It will eventually result in a plant with two different types of flowers.
If seedlings are strongly entangled, it may be best to sacrifice the smaller seedling by simply removing all its above ground growth.
After transplating, it is often best to use a large transparent box to increase the humidity the seedlings experience, while they through transplant shock.